Sunday 24 December 2023

Corunna - 16 Jan 1809 - refight 29 Nov & 6 Dec


After a long retreat in winter through the mountains of North West Spain, Sir John Moore reaches the port of Corunna and waits for the Royal Navy.  The two day delay allows Marshal Court to catch up with the retreating army and attack.  Moore successfully evacuates his army, but dies in the battle to hold off the French.  So much for history, how did we fare?

Mike chose to field his British army and I elected to give my French another outing.  The scenario is by Matt Bradley and has the British holding a ridge which the French must take for victory.  Here's the map:

I elected to use my main force to attack the objective villages of Piedralonga and Elvina (top two objectives) and pin the British at the bottom objective (on the San Christobal hill).

The start of the game - Elvina to the left and Piedralonga to the right.  Note the use of the hand-towel as the Atlantic - so glad it wasn't pink!


French columns going in - Elvina
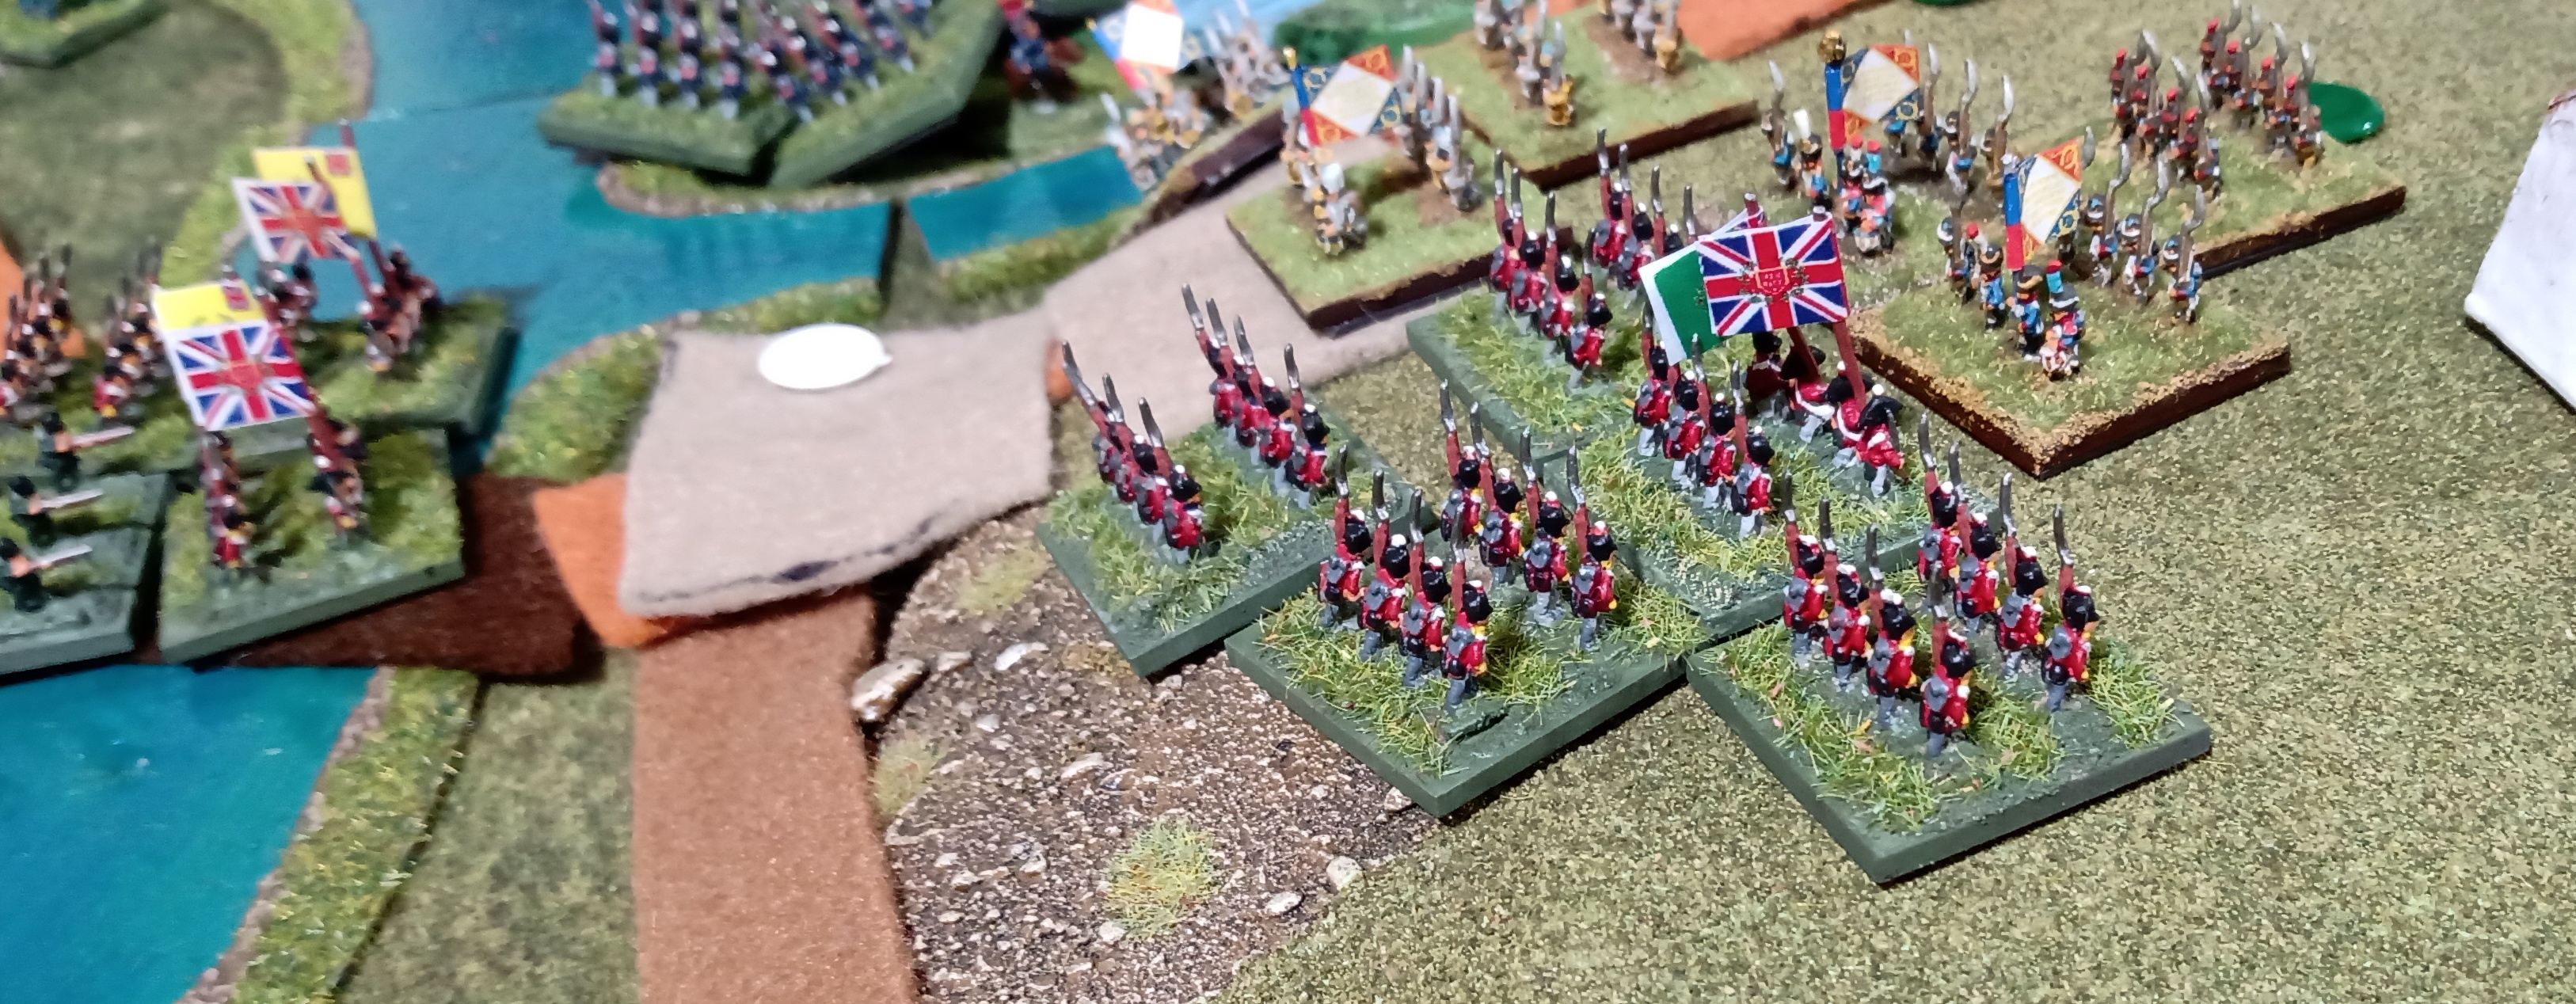

Piedralonga


The scenario allowed the use of dragoons, as cavalry:


and dismounted, as infantry. The dismounted dragoons (red token) have really not got their act together, only one unit has charged home and the British infantry are benefitting from a massive injection of tea!


After two successful battles in recent weeks, I have to admit I got a bit cocky.  As ever, the BBB rules brought me back to the reality that the more units needing to co-ordinate, the more likely one or more is to go slow or just stop.  The British moved forward at Piedralonga and got driven back up the hill, but it was more of a planned retreat than the rout I'd been hoping for. 


French disorganised assault - not enough troops charging home.  The British "D" rating for devastating volleys added just enough to their firepower to ensure my charges stopped or took casualties on the way in.


A little later in the game - the French have Elvina, however Piedralonga holds on for the Brits...  just.


Next turn - the Brits have Elvina, but the Brits have pushed back into Piedralonga


Close up of French infantry, mostly warmly dressed in greatcoats to keep out the cold.


French 12pdrs - great until the Brits decided to keep the battle at just beyond long range!


To the left of Elvina - two evenly matched blocks of troops slug it out for this flank.

A little while later...


French final assault on Piedralonga - not starting in a good place, as all the French units are disrupted.


Massed French cavalry, waiting for the British to break...  waiting... waiting...


Not really clear from the photos, but the British lost Elvina and got pushed off that part of the ridge.  They did hang on to Piedralonga and stopped the French left hand move past Elvina.  The French dragoons on the extreme left got wiped out, but the time taken to do this meant these British were unable to rejoin the battle.

As so often happens with BBB, it came down to the last move.  The British retook Elvina and the French ended up at the bottom of the ridge.  So, we ended with a British win, the rest of the army can evacuate and Soult has run out of troops.

A really enjoyable game and a lot of fun to get my troops on the table.  The British held firm and managed to counter-attack in style.  The French just ran out of steam and failed to make their numbers count.  As expected, the Brits held the villages and that "D" rating gave them an edge.  It was nice to see Mike's troops - there was one more battle in 2023 and I think we'll be in Spain for a while yet in the 2024 gaming season. 


Saturday 18 November 2023

Vimiero - August 1808 - refight 8 Nov 2023

 This week saw Mike and I get his Anglo-Portugal army out to take on my French at Vimiero.  

The British have to hold the village of that name and keep the road to it from Port Nova free of French.  Wellesley's task is to cover British troops landing at Port Nova, so has deployed on a ridge from the sea to Vimiero.  The French are deployed on the ridge facing Vimiero, whilst expecting a flank attack on the British left to arrive soon (decided by a couple of dice rolls).

The scenario map below shows the start positions.


Here are the troops at the start of the game.

British holding Vimiero


French holding their ridge.....   waiting for the flank march.  As the flank march did not happen till turn 3, we rattled through the early stages of the battle as neither Mike nor I wanted to move, Mike's forces on the western ridge started moving slowly.  Combat was restricted to some cannon fire to/from Vimiero.


It then gt a bit "fast and furious" once the flank march came on.  I tried a daring cavalry strike for the road whilst massing my troops for the assault on Vimiero itself.  Mike was not rolling as well as he needed to, so the Brits were not holding the French off.

My cavalry strike did not get to the objective in time, but my assault on Vimiero managed to get a toehold in Vimiero on my last turn.  Mike then riposted with an assault to drive me off and win the game.  Sadly he rolled too low in the assault and thus bounced off, leaving me in possession of what was by now a very battered village.

Glorious French artillery, supporting the final French push


The end of the game, French hold Vimiero for a draw.


Wider view - Vimiero in the middle, battered Portuguese troops behind.


All in all it was a great game.  It was really nice to get my French out and very satisfying to do better than history.  

The flank march definitely adds to the excitement of the game, as neither side knows when it will actually turn up.  Of the three infantry units on the march, only two managed to take part in combat.  

We managed to set up, play and pack up in just over 3 hours, probably helped by our decision to not move for the the first 3 turns but trade artillery fire and banter....


Saturday 4 November 2023

Grand old Duke of York - British in Flanders 1793-95

Having bought the "Neither up nor down" book that covers the British involvement in Flanders, 1793-95, I started the forces needed.  In the scale I usually work in this will be 6 bases of infantry, 6 of cavalry, 2 command stands.  

In March I posted from the workbench in progress here and here are the finished troops so far - 3 units of line infantry, 2 heavy cavalry, the Duke of York himself to lead (astray?) the British troops.  


British Army


Duke of York (white Horse)


Heavy Cav (1st Dragoon Guards & 6th Inniskilling Dragoon Guards)


The Line Infantry 14th, 37th, 53rd


The figures are Baccus AWI British infantry (with French Officer & standard bearers), Napoleonic British cavalry and Generals (with suitable plumes).  Painting white/buff belts over red was a bit of a pain, but not as bad as I initially thought.  

Enjoy!


Baden - 1809

 The Army of Baden took part in a number of Napoleon's campaigns.  In 1809 the troops wore a Raupenhelm helmet and blue coats.  Officers wore Bicornes rather than the helmet.  I used Austrian line in Raupenhelm with a French officer in Bicorne for the officer.  

You can't see it on the photos, but Baden troops had a yellow and red fringe below the comb and skull parts of the helmet, so I painted a minuscule stripe of orange to represent this.


Austrian Infantry Command - variations on a theme

 I posted some while ago about making officers, drummers and flag-bearers for Austrian infantry, using Baccus AWI Loyalist figures and doing some conversion work.

Last year's battle of Neerwinden playtest required more units to be raised, so I made the extra units needed but never got round to posting about the troops!  By way of recap, here's my earlier post on converting the figures.

The Austrian officers from 1792-98 wore the Tricorne, with a gradual phasing in of the schiffhut (bicorne hat).  Searching the Baccus catalogue enabled me to do some figure substituting, to make my command bases more interesting:

So here's the officers made to date:

Grenadiers:  

SYW Grenadiers are ideal.  The flag bearer had his flag replaced by a pin and the officer with spontoon (small pike) got this reduced to sword length.


One command got an officer in Tricorne.


Finally one base (on the right) got no officer (as it's following a base with an officer....)


Line infantry

I now have 6 command bases with officers in Schiffhut (plus two, in the background, with no officer).


I also have 3 bases of officers in tricorne, using the SYW Austrian artillery officer and British AWI standard bearers (flagpole shortened to sword), as these wore Bicornes in Flanders 1793-5 so were going spare.


I hope that this has inspired you to give these troops a go....


Mad as hatters 2 - Austrian Artillery

 I was looking at my blog this last week and noticed that a couple of topics were left unfinished, one of which was the Austrian Artillery needed for fighting battles 1792 - 1806.  

As mentioned in my earlier post there were several different hat options available.  Here's an update on two of these:

1790 - 1806 Rundenhat - worn with the rear brim turned up (service dress) (conversion needed).  Has a plume.

Here are the two cannon batteries made so far - two artillery crewmen and one "handlager" picked from a nearby infantry unit to do the heavy lifting.


1790 - 1803 Tricorn (later as full dress only) (SYW Austrian artillery).  Here are three shots of a cavalry battery and a heavy gun (12 pdr) with the crew in Tricornes.  My understanding is that most of the artillery drew rated as NCOs, so there should be plenty of suitable hat trim.


Figures are Baccus (Converted Austrian arty, SYW, Handler from AWI loyalist), guns mounted on 1" 2mm mdd from Warbases.

Enjoy!