Showing posts with label 1793. Show all posts

Saturday, 27 April 2024

French Revolutionary War - French infantry stands for BBB

A little while ago I got the idea that I could create French line infantry stands with flag for use with BBB rules.

I searched high and low on the internet but could not find any 1/300 French infantry in Tarleton helmets that I could use, so I repurposed Baccus Spanish skirmishers by creating drummers and flag bearers from the "loading" figures.  The front rank is firing and the second rank loading, drumming, flag waving or leading.  I have taken a British horse artillery officer (leader figure in Tarleton) as an officer on one stand.

I plan to add some figures in bicornes, as well as those in tarletan helmets, to mix it up a little on future bases.

I created the flags in excel and then printed my own sheet.  By choosing regiments that had easy to reproduce geometric shapes, these were easy to knock up (why make life harder??!).  

Here are the pics of the first two units:


The facing colour over white plumes really "pop"


Here are the units in the classic "ordre mixte"


Here is the top of the sheet I created for the flags:

Here is the master flag - the hoist part of the flag is sized to go round a 0.5mm pole in 6mm, which is why it's a bit wide...   This gives you an idea of the teeny tiny detail on there.


So, there's more of these bases in the pipeline - and I readily admit that I really like these colourful additions to my FRW French army.

Just in case this inspires you to have a go, the figures are Baccus NSP19 Skirmishers in Tarleton, with a RHA Officer thrown in.  

Contact me if you'd like a copy of the flag sheet as a word document.  I've done 2 flags x 3 sizes, enough to test fit on models and make the occasional mistake.

Enjoy!

Saturday, 4 November 2023

Grand old Duke of York - British in Flanders 1793-95

Having bought the "Neither up nor down" book that covers the British involvement in Flanders, 1793-95, I started the forces needed.  In the scale I usually work in this will be 6 bases of infantry, 6 of cavalry, 2 command stands.  

In March I posted from the workbench in progress here and here are the finished troops so far - 3 units of line infantry, 2 heavy cavalry, the Duke of York himself to lead (astray?) the British troops.  


British Army


Duke of York (white Horse)


Heavy Cav (1st Dragoon Guards & 6th Inniskilling Dragoon Guards)


The Line Infantry 14th, 37th, 53rd


The figures are Baccus AWI British infantry (with French Officer & standard bearers), Napoleonic British cavalry and Generals (with suitable plumes).  Painting white/buff belts over red was a bit of a pain, but not as bad as I initially thought.  

Enjoy!


Austrian Infantry Command - variations on a theme

 I posted some while ago about making officers, drummers and flag-bearers for Austrian infantry, using Baccus AWI Loyalist figures and doing some conversion work.

Last year's battle of Neerwinden playtest required more units to be raised, so I made the extra units needed but never got round to posting about the troops!  By way of recap, here's my earlier post on converting the figures.

The Austrian officers from 1792-98 wore the Tricorne, with a gradual phasing in of the schiffhut (bicorne hat).  Searching the Baccus catalogue enabled me to do some figure substituting, to make my command bases more interesting:

So here's the officers made to date:

Grenadiers:  

SYW Grenadiers are ideal.  The flag bearer had his flag replaced by a pin and the officer with spontoon (small pike) got this reduced to sword length.


One command got an officer in Tricorne.


Finally one base (on the right) got no officer (as it's following a base with an officer....)


Line infantry

I now have 6 command bases with officers in Schiffhut (plus two, in the background, with no officer).


I also have 3 bases of officers in tricorne, using the SYW Austrian artillery officer and British AWI standard bearers (flagpole shortened to sword), as these wore Bicornes in Flanders 1793-5 so were going spare.


I hope that this has inspired you to give these troops a go....


Sunday, 12 March 2023

Workbench today.

After a long hiatus, here are the latest models I am working on - British forces for Flanders 1793-5.  

The British sent two Brigades, one of three battalions of line infantry and a Guard brigade - one battalion of Grenadiers, Coldstream and Scots Guards.  There was a composite battalion of skirmishers.  

The cavalry were regiments of Light and Heavy Dragoons.  

Here are the models completed to date:

Line infantry

10th  Light dragoons

6th Heavy Dragoons


These will be based and made game ready... soon.


Monday, 6 February 2023

Neerwinden Playtest 2 - 2023-01-08

 Started the second play test this week - Mike was French, with new player Richard, whilst Ned and I defended as Austrians.  Mike explained to Richard that my usual rubbish dice throwing was already established in the Leeds club so he should be OK.

Much to everyone's surprise I managed to roll high quite a lot, so Richard did not get the easy battle he expected.  At the end of the first week Ned and Mike were trading insults and blows at their end, whilst I had stopped Richard, with my heavy cavalry rushing here and there to fill gaps and stop the French in their tracks.  I did manage to get my Grenadiers mangled and other units got whittled down on week 1.

In the second week my dice rolling returned to it's normal "sub-optimal" standard, Richard started winning more and, in the end, managed to get and hold an objective.  Week 2 saw more Mike/Ned banter followed by Ned pushing Ned back beyond the start line.

We tried a suggested "battalion guns" rule, but all the participants agreed that it was too complex, so we will use a much simpler rule from now on.

It was interesting that at the end of the first week, Richard had been quite discouraged by his troops stopping as they got disrupted, whereas I could see my line fraying and being held together by the mass use of most of the heavy cavalry.

It's a tough game for the French, whose troops are all fragile and predominantly raw, but with better French rolls (or worse Austrian ones!) the game can produce a draw or maybe even a win.

I have really enjoyed play-testing my first scenario and getting my FRW troops on table and in combat.  It has inspired me to start looking at more FRW battles to play in BBB!

Photos from week one:

Austrian Heavy Cavalry face off the French mob....


which leaves a gap on the Austrian right....


Further down the line, the French push into the Austrians


Ned, on the left, pushes back Mike's advance - much banter over this....


A little later, the French push through the porous Austrian right.


Photos from week two:

Richard gets to the main Austrian route and sits there.....   one vp (victory point) gained.


Final thoughts, lessons learned:

1. Firstly a big THANK YOU to Mike, Ned and Richard for fighting this twice, and for the feedback!
2. It was interesting to write rules to constrain the players to historical tactics.
3. It was hard for the French to get victory points, but then the real battle ended up in a complete rout, so still being there at the end of the battle is an achievement for the French!
4. KISS.  My play testers struggled with the battalion guns rule - so I am going to massively simplify it.
5. Asymmetrical battles can be fun and interesting!
6. Keep the number of special rules low - the players did best when they were using tactics they already knew from the other BBB games we have played.


Saturday, 3 December 2022

Neerwinden Play Test - part 3

 Another Wednesday night at the club, Mike and I fought Neerwinden to a conclusion (7th turn) and then I set up for a refight next week...

This has been my first scenario, so it's been a real pleasure just to get something drafted and played out.  A big THANK YOU to Mike and Ned, who rolled dice, asked questions and acted as "guinea pig" generals.  

The French did manage to take and hold the village of Neerwinden 😀 but the Austrians ended up in firm possession or control over the other 3 objectives.  The French also had morale issues, with disrupted spent raw troops regularly yelling "sauve qui peut"and legging it off the battlefield.  On the day of the actual battle Gen Miranda's French left wing collapsed, leading to a general retreat.  So, our game ended in a similar fashion to history.

In addition to my usual ability to roll 1s, or low enough to miss, I made the mistake of not putting my French units in depth, to simulate the "l'ordre mixte" formations used by the French at the time.  Thus my early charges stopped as the leading line of infantry took casualties, rather than diluting the Austrian fire with multiple unit targets in any charge.  Doh! (I fixed this on week two.... )

I have also been reflecting with Chris Pringle (BBB rules author) and Mark Smith (seasoned BBB scenario designer) on the widespread use of battalion guns by both sides.  Read Chris's blog here  and  Read about Mark's India scenarios here

Battalion guns were light (3 or 4 pdrs) issued in pairs to each battalion.  I had represented this extra firepower by classing the line units as EB (Early Breechloader), rather than SM (Smoothbore Musket).  This was too much extra firepower, so the one amendment I will make for the second play-test is to change the line infantry to SMBG (Smoothbore Musket Battalion Gun).  More effective than SM, but not wildly more effective.

OK, more eye candy...

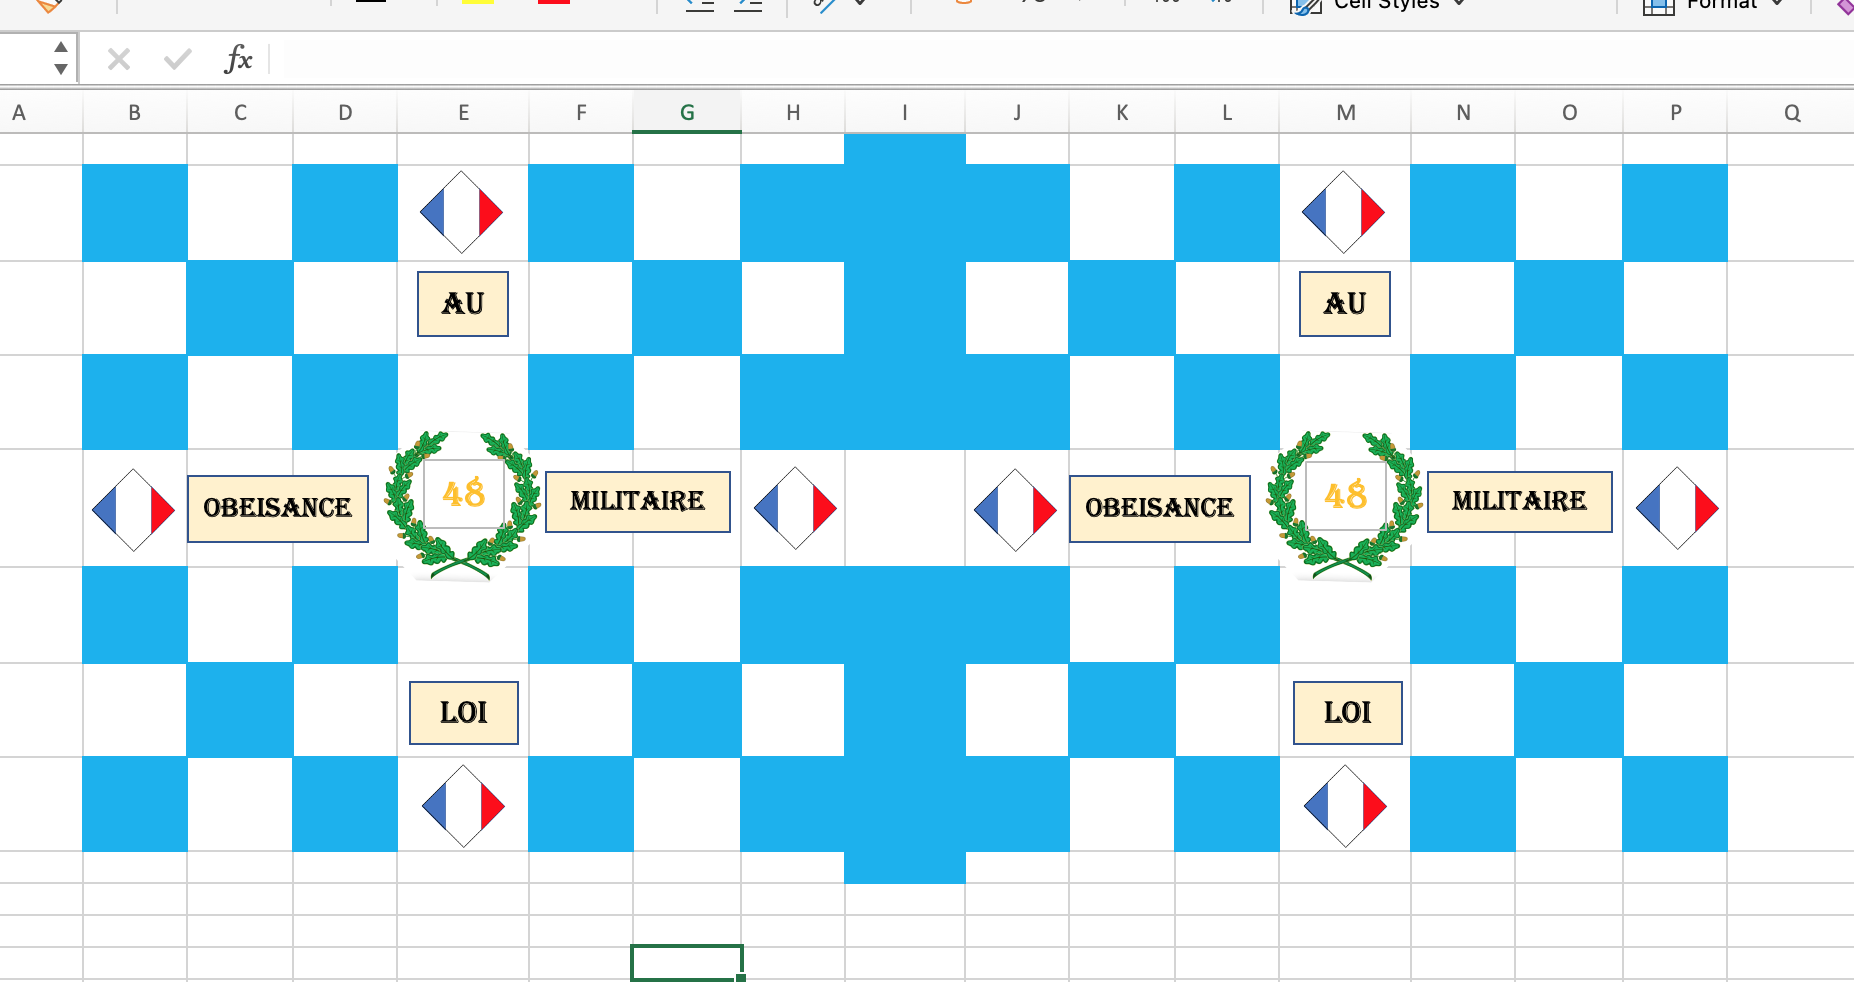
The last turn - overall view of the battlefield.


Austrian line infantry - all neat and white and orderly.


French - a right mix of uniforms (only one base in the actually correct uniforms - but hey!) 


The Austrian killing machine on the left - line, reinforced by Grenadiers (nice colours on the bearskins) and dragoons.  The French General on the top right has now earned the brown counter (or smartie !) of being overrun.


The other unit of Austrian Grenadiers - moving in a menacing way to General Miranda & escorts - who win their own brown counter.  Shortly afterwards, Miranda heads for Paris to tell tales on Dumouriez, who is busy retreating and parleying with the Austrians before defecting to them later!


The fight for Neerwinden (Yes, my French got there!)


The French have Neerwinden !  The Austrians gather...  Green counters are for Aggression, Purple for K (Killer)


The new French owners are now being attacked to the sides and rear...


Meanwhile, to the French left, much close combat between the French, more spent Austrian infantry and Austrian Heavy cavalry.


The reset:  My cunning, linear, plan!


Finally, some close ups of the Austrians - they deploy first, the French will deploy on Wednesday.


Archduke Charles' advance guard - he gets the Lancers, the Hussars, the light infantry/frei corps and a useful 5 strong unit of Grenadiers.  Also some sheep.....


Karabiniers & Kuirassiers in Tricornes ready to charge any French who dare to cross the stream.


More Kuirassiers and Cheveaux Legere.  Yes, they are difficult to tell apart from behind at a distance!


So, another great week's gaming and a pleasurable evening.  I hope this inspires you to have a go at this not so well known period of history.  Figures are Baccus (of various periods!), rivers are S&A Scenics, buildings my scratch builds.  Thanks to the Leeds club for the mat, some of the roads and the hills.

As the battles all take place in Belgium, you can just use any "100 days" scenery with no problem at all!!