Showing posts with label Russians. Show all posts

Sunday, 22 March 2026

Borodino for Joy of Six - 7 Sept 1812 - fought 20 Mar 2026

This year Ilkley Irregulars will be hosting the battle of Borodino, 7 September 1812, at the Joy of Six  Wargames Convention in Sheffield on 28th June.

Friday 20th saw Mike, Charlie, Mark and myself refight the battle as a first run through.  We had all last met at the excellent Battleground show in Middlesborough, where the Irregulars were hosting Waterloo.

Mike and I played Borodino in October 2024 (AAR here) and I played it with the scenario author, Mark Smith, way back in October 2022 (AAR here).  On both occasions the Russians won (merely by not dying too fast....).

OK, so what happened on Friday?  Mike and Mark led the French, Charlie and I took the Russians.  Team Rodina is hampered by having some poorly armed troops (pikemen) and having the right wing pinned until turn 3.  The French (plus the Italians, Saxons, Polish, Westphalians, etc.) have lots of well armed troops - but they have to climb 2 two level hills and assault the Russian entrenchments.

Turn 0

Here's the starting picture - Mike has made some bespoke scenery and I am planning to make suitable buildings and defences.


Turn 2

On the Russian right Charlie defended the Redoubt and Borodino, however, with most of his troops fixed till turn 3, the action was mainly trading shots with the advancing Italians.  There was a fair bit of banter that despite much shooting and Borodino changing hands, neither Charlie or Mark lost any bases for several turns.


On the Russian left my plucky defenders counter attacked and I tried to get various Cossacks and Pike troops to move.  As half my flank is a huge forest, there was much opportunity for my troops to delay.


Turn 3

At the end of turn 3 (lunch break!) the Poles, backed up by heavy cavalry, had pushed my front-line defenders into the woods, however I still held the village and my reserves were moving, slowly, to bring their pikes and ragged muskets to bear.  In the centre more reserves were supporting the Fleches (left hand defences) and I had even advanced to take on one of Davout's assault units.


On the right Charlie had advanced his troops (released at the start of turn 3) and was pressurising the Italians in Borodino.  It was around this time that someone finally lost a base....


Turn 4

Fortified by Baguettes and Borsht (OK, it was filled rolls - very good!) we pushed on.  

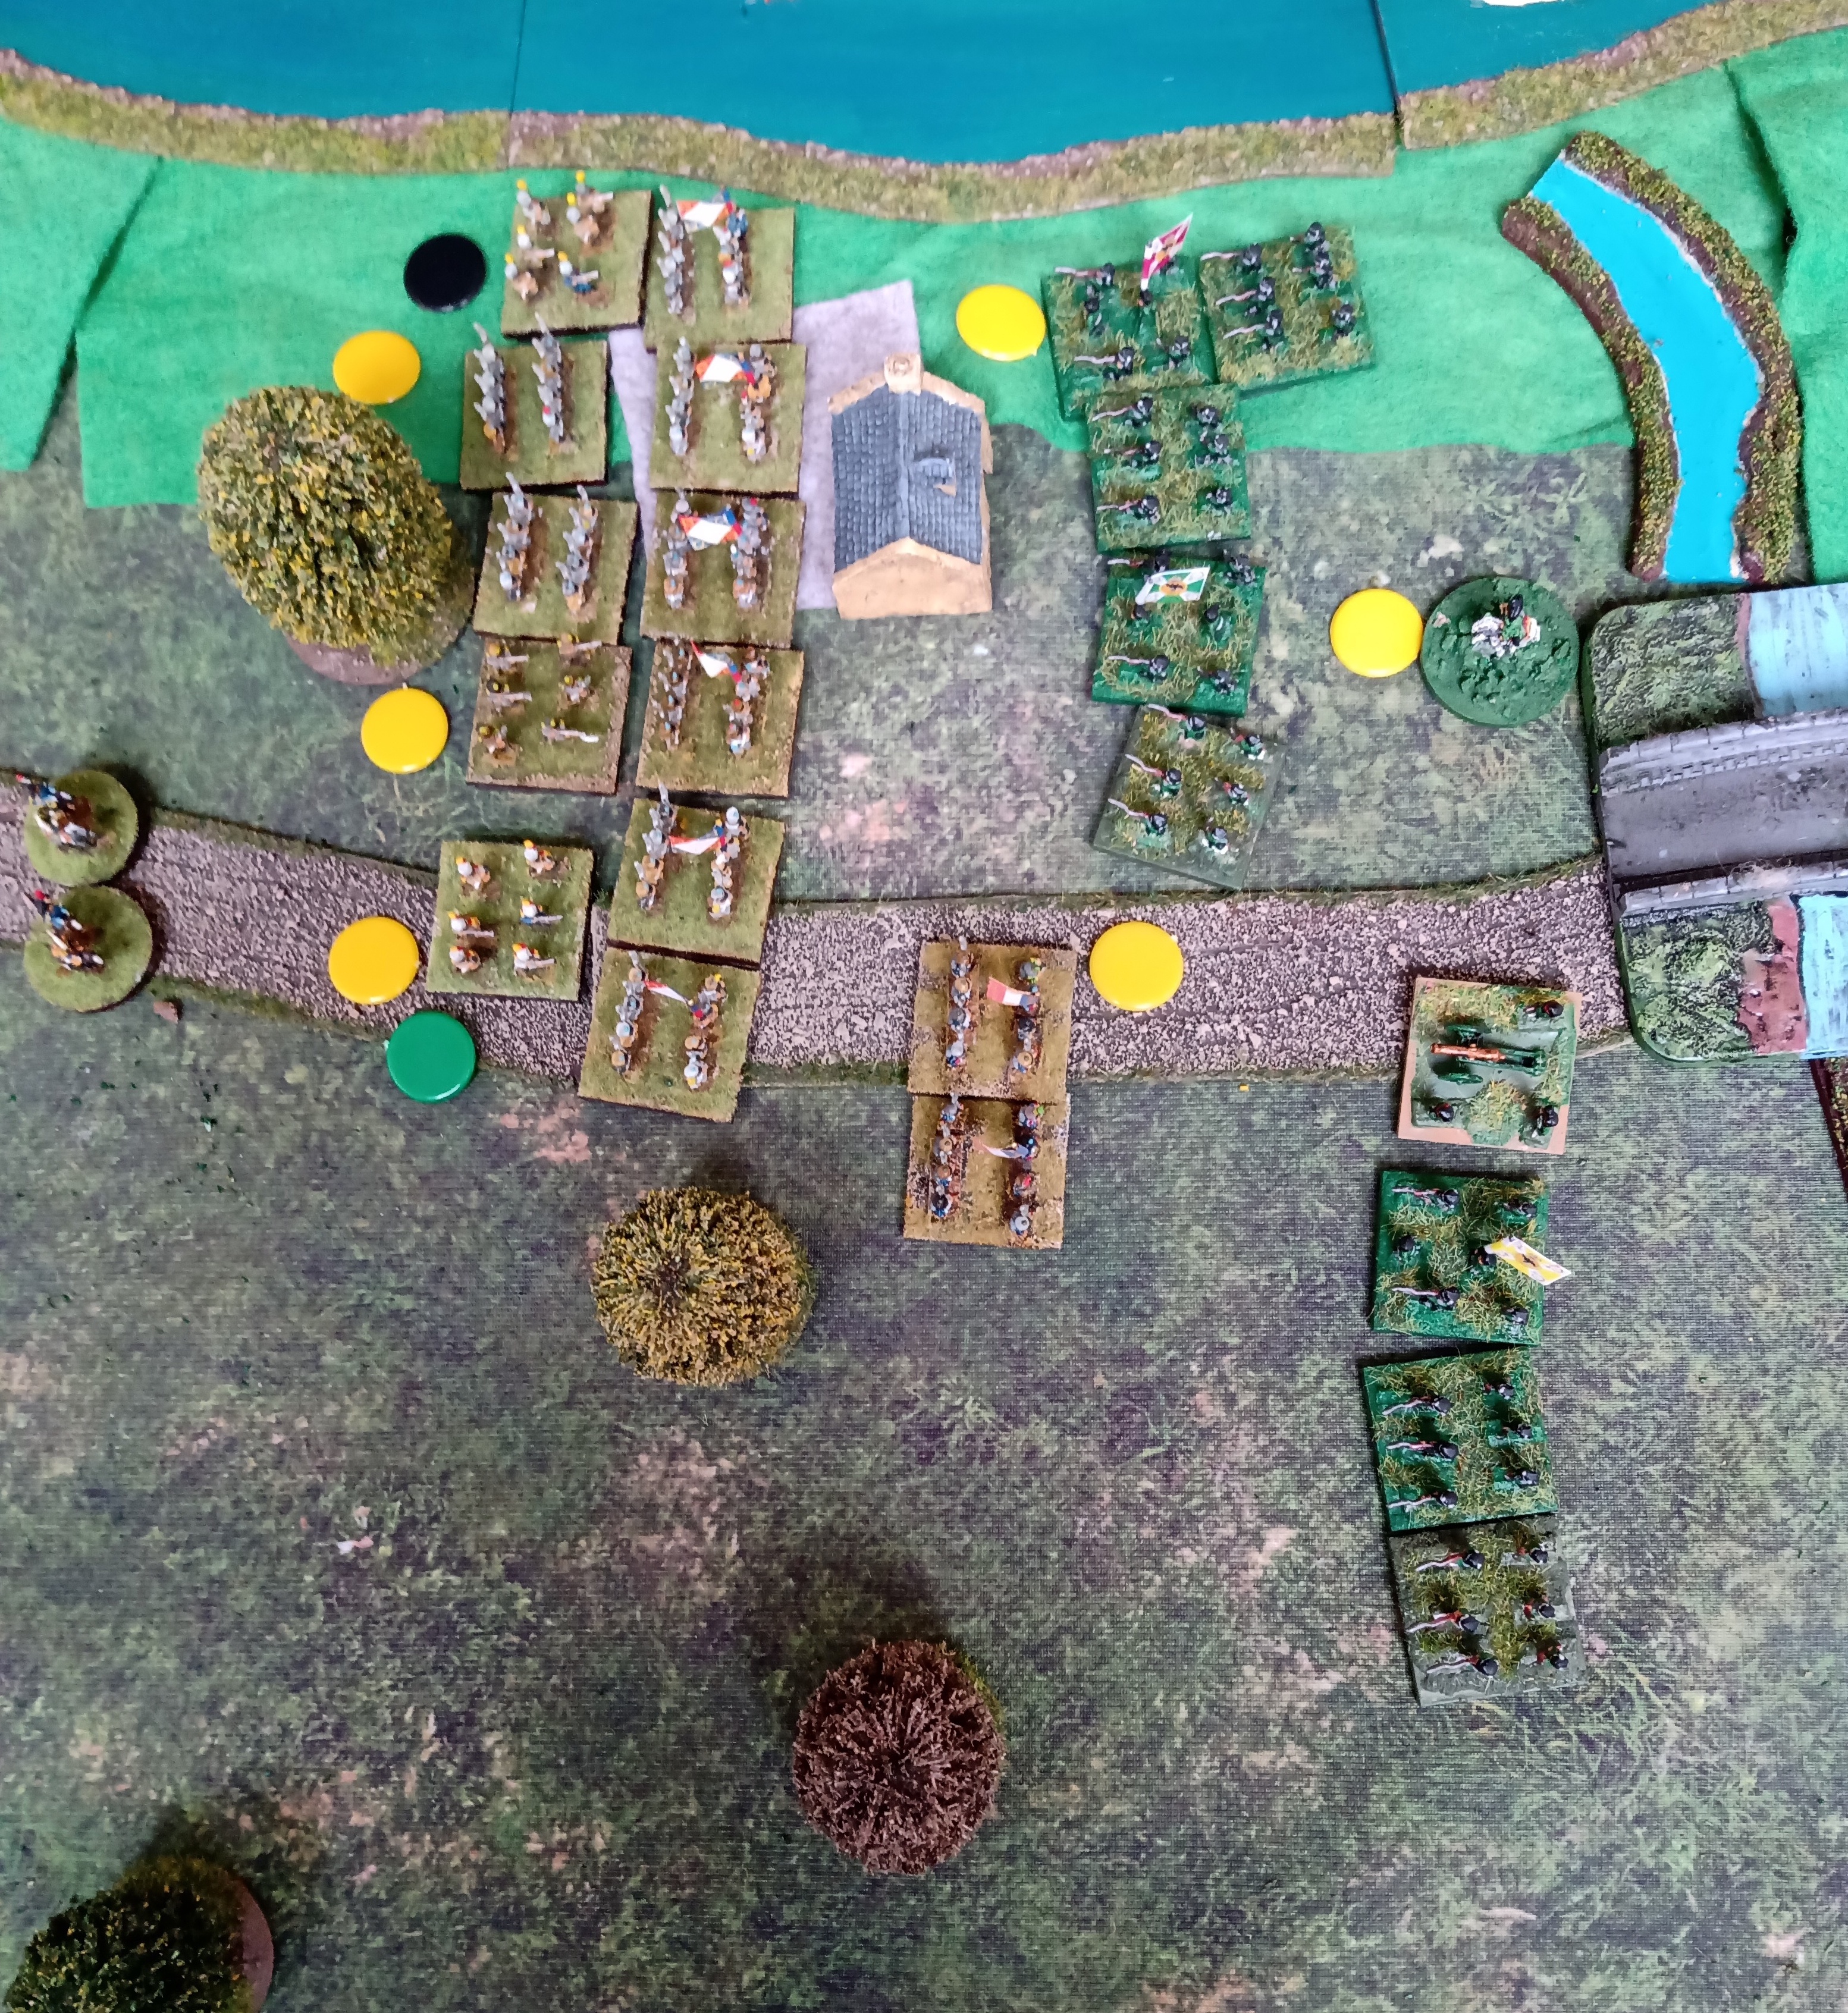
On the left, Junot's Westphalians destroyed the Cossacks and advanced against my reserves.  My heavy cavalry support rolled low enough to not move.  Around Ultitsa the Poles got wiped out at the cost of two of my units and Davout stormed the Fleches.  My reserves (lower right) are waiting for the next turn to swing into action.


On the Russian right Charlie moved to contact with the Italians and the cvasualties mounted on both sides.  Ney went straight ahead to assault the Redoubt.


Turn 6

By the end of turn 6 I had lost the Fleches, but had halted any onward moves by Davout by sending in my decent reserves.  In the woods my good cavalry finally turned up to support my exhausted reserve troops and my regulars, whilst low on ammo and disordered, managed to be sufficiently hard to kill that they were still fighting.


On the right Charlie held the redoubt and the Italians were only just across the stream from Borodino.  the column you can see at the top of the picture is the Guard moving to shore up the French left, as the Italians started to take casualties and holes opened up in the line.

Turn 7/8

At the end of French turn 8, with the Russians having completed turn 7, we decided to end the game.  It was decided that the French were unlikely to make any further gains, so we concluded with a draw.  

The Russian left - the Russians are still hanging on in the woods about 9 inches from Ultitsa.  The French have the Fleches defences, however the next objective is unlikely to be taken.


On the Russian right the redoubt is firmly in our hands and a solid line of troops blocks the French direct advance.  The French Guard has reached the stream at Borodino, but the French left flank has some pretty big gaps that the Russians can use to slip troops through.

Conclusion

It was great to have a new player - Mark has played a lot of games under different rules, so was quick to get the mechanisms sorted and start making decisions - he also had some good questions that meant Mike and I were busy checking the rules.  Welcome Mark!

The game is similar to Waterloo, in that the French need to move far and fast to envelop the Russian defences before the Russian reserves are released and the numbers move towards the Russian favour.

On the French left the Italians need to take Borodino AND hold that flank.  On the right, the French need to push through the woods to get behind the Fleches, in this game my aggressive counter attacks destroyed the Poles and slowed Davout's troops.  

It was a lot of fun and I am looking forward to our next play test!

French, Italians, Saxons Colin's BBB collection, Russians & Poles are Mike's.  Figures Baccus 6mm.


Monday, 10 November 2025

Leipzig, 16-18 October 1813, refought Sunday 5th October

 Mike has been keen to fight Leipzig ever since he got his hands on the BBB Napoleonic Scenarios Book , so the other week 3 of us went to the Mike's games room to fight this, the biggest Napoleonic battle.  

As an indicator of the numbers involved, Mark Smith's scenario uses a ratio of 3000 men/72 guns to a stand in order to fit this massive battle on a 6' x 4' table. 

Firstly, the map.  We had a French Commander and an Allied Commander on both the East & West sides of the table, I was French in the West.  All photos will be from the West.


Set up   The southern half of the table.


The northern half of the table.


Move 2 

On the southern front the Allies discovered that the terrain is not in their favour - the French hold the river crossings and have slowed the Allied right hook through the wood.


On the northern front the French under Ney attacked Blucher and checked his advance.  In the middle the garrison in Lindenau hold out against Gyulai.


Move 4  

By the end of move 4 (end of 16th October) the southern French were doing OK.  The Allied right hook had worked its way through the woods and then got stopped there.  The French still held the river crossings at Kannewitz (middle of picture), Krostewitz & Gulden Gossa (middle right of picture).  So long as they can keep the the Allies bottled up, they are in with a chance.


On the French left & middle it's also OK.  Ney has bottled up Blucher's forces and the defenders of Lindenau hold their own against Gyulai.  As night falls, the French hold the villages and all is well.


Move 6

At the end of move 6 things have taken a turn for the worse in the south.  The Allies have broken out of the woods and crossed the river,  The French still hold Kannewitz, but have lost Lieberwolkerwitz on the hill in the middle of the picture. 


In the north the French are under pressure.  In Lindenau (bottom of picture) Gyulai has managed to get his cannon up and extend his line.  Ney has retreated to cover Leipzig and to use a unit to cover the gap in the French lines, where an Allied hand is pushing assorted troops forward!


Move 8

In the south the French held on to Probstheida village, having evicted the Allies earlier.  The defenders of Kannewitz held out against the Allies, who found it hard to deploy enough troops to assault and push the defenders out.


In the north things went badly for the French.  The centre defensive line was just about holding, but Leipzig itself was now under threat.  More importantly, Gyulai had taken Lindenau, so there was no longer an escape route for any of the French.


It was at this point that the French decided to surrender.  It had taken 4 of us most of the day to game the battle, it had been intense and engaging to the end.

Thanks and thoughts

Firstly, thanks to Mike for hosting four of us and to Chris and Charlie for an excellent game.  It was a fun day, with the game in the balance until the end of move 8.

It's a big game, the French need 51 infantry, 8 cavalry and 7.5 gun stands.  The Allies need 90 infantry, 16 cavalry and 13.5 gun stands.  

It needs at least 4 players.  I had play-tested an earlier version with Mark, the scenario writer, with just two of us.  It took a much longer time to play on that occasion and a lot of maths!  Playing with 4 players speeded up play and made the battle manageable.  6 players would have been easy to accommodate.

So, I hope this inspires you to give the game a go.  Get 3 friends (or 5), lay out the table and go for it!


xxx

Sunday, 9 February 2025

Bautzen - 20 & 21 May 1813 - replayed 20 Dec 2024 & 3 Jan 2025

 Mike and I decided to skip the battle of Lutzen (2 May 1813), as we've played it a couple of times before, moving swiftly to the battle of Bautzen.  The Russians and Prussians dig in behind the Spree river - Napoleon frontally assaults on day one whilst Ney attacks the right of the Allied line on day two.  

In this battle the French get bridging trains (one per Corps), so it's not just a charge across the bridge.  If only I had some suitable pontoon bridge models!  

Here is the map - Napoleon to the left, Ney at the top, Allies in the middle.  Having got used to playing with Veteran French in the last few battles, I now found that in taking the French I was mainly playing with trained troops - less likely to charge home if fired upon, they go spent on fewer casualties.  

The Set up

Here is the table ready for the start.  The on table troops in the foreground are Soult (left) & Marmont, who will advance to the Spree and cross it.


On the other flank McDonald, the Guard & Oudinot prepare to assault across the bridge and pin the centre.

Mike had troops in Bautzen, with his main defence line dug in further back.  I didn't expect to do well with the frontal assaults, I hoped that my flanking manoeuvres would do better.


Move 2

After two moves things are hotting up.  On the right Oudinot has pushed his troops in column to take on the defenders of Jenkwitz.  In the middle Mcdonald has taken Bautzen and is heading for the main line of resistance.  


On the left Soult and Marmont have crossed the river.  One of Napoleon's challenges in 1813 was a lack of cavalry.  Mike added to my troubles on the day by long range artillery sniping, which took out Soult's cavalry....


Move 3

By the end of move 3 the battle had split into 3 sectors.  On the right Oudinot squared off against Gortchakov.  Neither side had quite the numbers to kill anything, but steady Russian fire kept the French infantry from charging and the cannon from being deployed.

In the middle Macdonald & Marmont, supported by the Guard, attacked the defensive lines.


On the left Soult was left to his own devices.  The Russians lined up on the hill and brought up their guns.  The French assaults were disrupted and never developed, but the Russians were not willing to counter-attack and give up their defensive advantage.  They did try a sneaky flank attack (just above the six islands in the river) but were held off.


Move 4

On the French right we have Oudinot - he has formed "block" in preparation for another charge - to his right rear is his supporting artillery, driven off by the pesky Ruskis again!

In the middle the French throw in the Guard against the dug in Allies.


On the left the Russians hold the hill.  The French hang about at the bottom of the hill, whilst Soult diverts a division to avoid the outflanking Russians.  If only the cavalry were still around!


A close up of the central battle - The Guard to the right, Marmont & Mcdonald to the left.  The line in foreground are re-grouping after losing an earlier assault.


At the end of move 4 night fell, in the real world we had a cup of tea (Yorkshire, of course!) before resuming play at the start of day two.

Move 6

2 moves into day two, things have started to improve for the French.  

On their right flank Oudinot has broken through, aided by the Guard cavalry doing a flanking charge on the brave defenders of Jenkwitz.  In the centre the French assault the defences, throwing in masses of troops and the Guard.  


On the left flank Soult is joined by Ney.  A series of low movement rolls means the French advance slowly (or not at all, in some cases!) but Mike responds by building a defensive line and holds the hill.  Those 4 lakes act as some sort of "super moat" - breaking up the French attacks.


Move 8

On the right the French drive a massive wedge into the Allies and start taking VP (Victory Point) villages (red exploding markers).  


On the left the French take the big hill (worth a VP) but fail, so far, to get the last remaining VP village or the road exit.  If only I had not lost my cavalry!  I did manage to capture more non-VP villages...


Move 9

On the right the French broke the Allied line, but were too far away to get troops to the road exit.  It had been a long hard slog to get this far!


On the left the French failed to get the VP village across the stream but did hound the Russians away from the important VP hill.


At this point Mike and I called it a day.  The final French turn saw them masters of the battlefield and in possession of 3 VP, but with no further moves left to take further VPs and Mike too depleted to attempt to take any back, it was a draw.

Once again an exciting game with ups and downs, decisions to make and engaging to the end.  A couple of thoughts:

1. French troops are no longer veteran - and the enemy has skirmishers.  The French superiority margin is wearing down and thinner than earlier battles.

2. Cavalry - as French, you don't get much.  The Guard cavalry did a great job, but I lost 2/3 of my cavalry early on and that meant I could not exploit at the end of the game.

Once again, a well written and finely balanced scenario gave rise to an interesting and engaging game.

Photoshoot

French Chasseurs of the Guard


Guard artillery + line = Grand battery


Italians charging up the hill!


Guard Cavalry backing up an infantry charge


My Middle/Young Guard - in this case loads of Veteran stands lumped together.  Proper troops have been painted and await warmer weather for basing.


Sunday, 2 February 2025

Berezina, 26 to 29 November, refought 6 & 20 December 2024

Berezina is the next battle from Dr Mark Smith's "Bloody Big Napoleonic Battles" Scenario book.  I had played it before as part of a playtest, my regular opponent Mike was new to this battle.  It's an interesting battle, with two separate areas of combat, logistical challenges and many strategic decisions to be made.

The French army has retreated from Moscow and is now heading West through the snow.  The French formed army is disintegrating and is accompanied by a huge number of military stragglers and civilians.  

The French task is to cross the Berezina river and avoid being trapped by two Russian armies.  The river is not passable, but two emergency bridges have been created.  One bridge can carry infantry and cavalry, one can take all forms of traffic.  The scenario has 6 bases of transport, representing the logistic train that needs to cross the river.  The bridges keep breaking down and must be diced for each move to see if they are passable.

The Russian task is to take a number of locations on the ground and to stop the French withdrawal of combat & logistic units.  The French thus need to get the transport across the Bridges to gain Victory Points, which requires troops on the East bank, but are penalised if these troops are still on the East bank at the end of the game.

Here's the map:


Set up

Here's the table as set up, with troops in their initial deployment.  The Russians can choose to use the road and go straight North, or take Borisov (to the left) and loop through the countryside to hit the bridges.  

As the French, I needed to take Strakov (centre of photo) and hold on (or retreat slowly) on the West bank whilst screening the mob of troops/stragglers on the East bank.


Move 2

To the South, my right, The Russians pushed up the road to seal the Western bridge exits.  Mike, as Russian, also stormed over the bridge and threw his troops at the brave French defenders of Borisov, wiping them out.  I advanced Victor's troops to the South, hoping to buy time for the rest of the army to escape.


The battle for Stakhov commences, with New and Oudinot making a defence line North of the village in the woods and Marsh, not being fast enough to get to the village before the Russians.


Victor's troops form a defensive line.


Davout takes up defensive positions and the Guard cross the river to bolster the Western French forces.  One wagon can be seen on the road heading north for the exit.


Move 4

On the West bank, the Russians main thrust goes up the road.


Into the French defenders!


With Guard in support


On the Eastern bank, Victor's troops have been beaten by the Russians - destroyed or run away...


The Eastern bank 2nd line gets ready...


Whilst the stragglers/transport mill about as the bridges fall apart - again!  5 units wait to cross.  The purple "1" indicates a broken bridge.


Move 6

By move 6 the Russians had closed up on the Eastern bank and were advancing to the French bridgehead.  My rubbish die rolls meant I could extricate some infantry and cavalry, these were deployed to the South West, where both sides were extending their lines.  I could not get any artillery or transport across, however.  The Guard with artillery and cavalry were deploying in the West bank woods.  


Move 8

By move 8 the Russians had worn down the Eastern Bridgehead, taking losses but demolishing the French defenders.  On the West bank, both sides fought hard in the woods but no real progress was made.


The Western woods - hard fighting


The bridgehead - one transport unit (Austrian forge wagon, bottom left) has crossed the bridge.  Davout's command is down to one viable unit.  The French heavy cavalry is positioned on the North bridge.  Mike and I agreed that the Russians could not attack them as there were still thousands of carts, wounded and dead in the way!


Move 9 - end of game

At the end of the game the French firmly hold the woods on the Western bank and stalemate has been achieved, with neither side able to decisively defeat the other.


At the bridgehead the Russians are now having problems concentrating too many attackers against the French rearguard.  The Heavy cavalry continue to use the stragglers as a barrier.  The forge wagon heads North.


Conclusion

It was a tense game to the end, but my poor bridging rolls meant that the transport elements were trapped on the East bank at the end of the game.  This, and my failure to get and hold Stakhov, meant it was a Russian victory.  

I was pleased with the West Bank troops and deploying the Guard there early on meant the Russian assault up the road stumbled.  

On the East bank, my troops were able to slow down the Russians, assisted by the much further distances Mike's right hook needed to travel.  It was only towards the end of the game that he threatened the bridgehead.

I thoroughly recommend this as a challenging game for both sides - one I am very happy to replay!  Thanks to Mike for two days of excellent gaming, banter & bacon sarnies, thanks to Dr Mark Smith for the balanced & challenging scenario.


xxxx