Showing posts with label Archduke Charles. Show all posts

Sunday, 8 December 2024

Wagram - 5,6 July 1809, refought 20 & 27 Sept 2024

 Mike and I continue to plough through Napoleon's Bloody Big Battles scenario book - this brought us to the battle of Wagram.  In real life Napoleon, having failed to break out at Aspern-Essling, regrouped, built up his forces on the Eastern bank of the Danube and launched a further assault on the Austrians.  The battle was fought on the Marchfeld, a flat plain that was used by the Austrian army for large manoeuvres.  Having been there, it's flat!

Firstly, for the game, here's the map.


The French objectives are the string of villages from Aspern to Rosen.  The village of Deutsch Wagram was where the Arch Duke Charles established his headquarters.  The building still exists and is an excellent museum.   See links to transport here and dioramas here.  I was playing the Austrians and Mike took the French & Allies.

The scenario starts with the Austrians deployed from Gross Enzersdsorf to Markgraf.  The French juggernaut comes on between Gross Enzersdorf and Rutzendorf.

Set up:


End of turn 2  The French advance across the Marchfeld whilst the Austrians, hampered by passivity (-1 on movement) and a lack of suitable generals, move to engage.


End of turn 4  on the left, Davout turns the flank.

Most of the fighting was in the middle, with the French slowly pushing the Austrian defensive line back.  Archduke Charles was under pressure on his right, so tried to deploy his heavy cavalry there.  The Austrian's passivity and lack of Generals meant that the French could move faster and further each go.


Turn 6 by this point, the Austrian left had been compromised and the centre was thinly spread, with a solid wave of French building up.  The Austrians could no longer win, perhaps they could hold on?  Perhaps Archduke John could arrive to save the day?


The pile of Austrian dead on the square hill.  In later years, bits of equipment left behind would go to a museum....


Turn 8  Mike got into his stride now - rolling up my left flank, threatening Wagram itself (bottom left of second picture) and grinding down my centre.


Turn 9 saw the plucky Austrian defenders of Wagram ejected and reduced to spent status.


Turn 10  saw the Austrians still occupying a couple of objectives, but Mike had destroyed a large part of the Austrian army and had gained enough objectives for a win.


The dead pile says it all.


A couple of post battle thoughts:  

  • Mike had handled the French well, using his greater chance of moving to stretch my Austrian line.
  • The Austrians could not launch (or at least my die throws were not high enough) to decisively break any part of the French line.
  • Once Davout had turned my left flank I was fighting on two fronts - which was far from easy.
Once again, a big thank you to Mike - for table, troops and lunch, also a big thank you to Mark for publishing an excellent scenario.

So, that's the Danube Campaign of 1809 wrapped up by the "Ilkley irregulars".  I've not done so well....

But hey, in three year's time it's off to Russia for a Summer holiday and the campaign of 1812, I'll also be the French!!   What could go wrong???

Troops are Baccus 6mm, rules are BBB & the Napoleon's Bloody Big Battles Scenario book.


Sunday, 13 October 2024

Aspern Essling, 21-22 May 1809, refought 6 September 2024

 The next BBB Napoleonic battle is Aspern Essling.  Here's how Mike and I got in early September refighting what was, in history, Napoleon's first defeat (according to the Austrians!).  Napoleon has captured Vienna, but the Austrian army is on the other side of the Danube and needs to be brought to battle.  Napoleon has built a bridge over the Danube and has a bridgehead on the far side.  He needs to bring the Austrians to battle and have a dramatic victory, one that would knock the Austrians out of the war.  He is dependent on this bridge, which the Austrians are trying to destroy.  So part of the game depends on how fas Napoleon can get his troops across the battle and into action.

Here is the map:


The French start with almost nothing on the table.  The Austrians have numerical superiority, at least to begin with, but as the troops are passive and with only a CinC and General of the Reserves to move things along, there is a good chance that they take too long to get to the action!

Set up and initial moves:

I've played this game before, so set up as near as I could and pushed into Aspern.  The Austrian infantry to the right on the road have failed to move...


Slow moving Austrian reserve Grenadiers - the orange blobs denote "not passive".


Move 2

On the Austrian right, the French rushed defenders to Aspern and the mighty white Juggernaut moved in.


In Essling, the French took up residence as the advancing Austrians just failed to launch a co-ordinated heavy attack, moving instead in piece-meal fashion.


On the left the biggest unit, Hohenloe's IV Corps, threatened but didn't actually move ar all.


Move 4

On the Austrian right the French were evicted from Aspern and things were going well for the Austrian juggernaut.

In the middle the Austrians closed on Essling, but still at a glacial pace and in an unco-ordinated fashion.


On the Austrian left IV Corps are still not in contact, having failed to move much more than 6 inches in 3 moves.....


A little later...

The Austrians hold on to Aspern, but the extreme right flank in the woods is getting attacked by the French re-inforcements.


In the centre the Austrians fail to close on Essling in force and the French shore up their position.


Move 5

The Austrian centre, troops advancing on Essling


A little later, going in piecemeal doesn't get the critical mass needed to take Essling.  


On the Austrian left, IV Corps proceeds to move at glacial pace...


On the right, the French left hook through the woods develops and the Austrians struggle to counter it.


Turn 6

On the right flank, the Austrians hold against the French left hook through the woods


In the centre the French lose Essling!  However, the Austrians fail to charge home against the mass of French.


On the left IV Corps make sure that they miss the battle by failing to move again.  Their troops are badly needed!


Turn 8

By turn 8 things were not going well for the Austrians.  The French retook Aspern and started to grind the Austrians around Essling down.  The Austrian centre could hang on, but were taking casualties faster than the French, whose reinforcements were getting across the bridge.


IV Corps finally got into action, but it was too late.


ENDEX

On Austrian turn 9 it was clear that it was time for the Austrians to retreat.  Despite having taken Aspen & Essling, neither had been held.  There were simply not enough troops with fight left in them to continue the battle.


Thoughts

Mark has written an excellent scenario which I had played before in Oxford and Leeds 1 & Leeds 2.  So, I thought that a Archduke Charles I knew what I was doing.  Well, even if i did, I didn't get the die rolls needed to close with the French when they were weak.  Mile's excellent left hook stretched my right wing and I gambled by leaving Aspern empty for a move, confident that I could get back.  Yup, that didn't work!  In the middle I couldn't get there fast enough with enough troops.  On the left....  well that assault never really took off at all.

Despite losing it was a great game, well done to Mike for getting a decisive win.  My troops all got an outing and it was nice to field the whole army with more to spare.  

On to Wagram!


Monday, 15 July 2024

Fleurus - 24th June 1794 - refight 14th July 2024 at Joy of Six, Sheffield

As regular readers of this blog know, this year I have spent an increasing amount of time lately preparing to put the Battle of Fleurus on the table at the Joy of Six Show in Sheffield.

I have helped others put on games at shows, this was my first go at doing it myself.  After researching, writing, painting, varnishing, testing and tweaking, the game went live yesterday morning.

My thanks go firstly to Mike and Ned, stalwart members of the Leeds club, who volunteered to help me on the day.  Mike gets a "mention in dispatches" for kindly hosting the two play tests.  Thanks also to Chris Pringle and Mark Smith for encouragement.

Finally a massive thank you to Sarah, my wife, who has become a "Fleurus widow" over recent weeks, who offered to drive me there and back on the day and who has been super encouraging.  She produced the map!  On the day she brought a book to read....


The After Action report:

Ned and Mike helped with the set up and Sarah offered to take the Austrians until such time as a new player wanted to take over and she could read her book.

Sarah has known about BBB, the rules set that we use, from it's very early days, but has never played a game before.  So, this was her baptism of fire, as she handled 4 of the 5 Austrian/Dutch assault columns.  Ed from London had seen the game advertised, is interested in the the Revolutionary period and decided to give it a go.  Ned took the remaining Dutch column and helped Sarah, Mike took the French left and helped Ed with the French right.

In brief, on the actual day of the battle, 1 column of Dutch and 4 columns of Austrians attempted to break through the French troops encircling Charleroi, held by the Austrians.  The day before the battle the Austrian garrison had surrendered, so all the French attackers could be deployed to halt the Austrian relief columns.  After several hours fighting the Austrian Commander, Saxe-Coburg decided to order a general withdrawal, despite the Allies having gained a lot of ground.  His withdrawal ended the Austrian attempts to hold Belgium and led to the successful French invasion of the Netherlands.  The French victory was followed by a coup against Robespierre and the end of the reign of terror.  French Generals no longer had the shadow of the guillotine over their every move....


Here's the map of the battlefield - start positions are roughly where the troops are at 08.00


The refight.  

Mike and Ned were opposite each other, with Mike having already played two battles and won both times.  Ed was in defence and Sarah tasked with winkling him out of a series of villages and woods.  

As Ed and Sarah had never played before, there was a lot of initial questions, but once they got a rhythm going they got stuck in to the battle.  It is a tribute to BBB that you can work off one QRS (Quick reference sheet) and a lot of the rules are intuitive.  

By the end they were seasoned veterans......   roll the dice, work out if anything happened, consult the rules if needed.  

The French outnumbered the Allies 83 : 53 but suffered from troops that were raw - so casualties immediately hit morale.  A couple of Ed's units fled after combat and at least one fled before combat!

As the game progressed Ned's Dutch ground Mike's French down and successfully launched an assaults on Roux and Marchienne-au-Pont, which enabled him to take Charleroi.  Sarah's Austrians also ground the French down as she pushed through the bulk of the French forces.  

In this game, with most of the French raw, passive & fragile, once they had taken one casualty they were harder to motivate and more susceptible to running away.  We had also added a scenario rule that french Generals had to be in contact with the units they wanted to add +1 command bonus on die rolls, rather than having a sphere of influence.  This was to reflect the revolutionary nature of the French forces, with the need for leaders to get alongside units to motivate them, rather than directing the wider battle.

By the end of turn 6, having gamed from 10.30 - 3.30 with only minor breaks for food, the French and Austrians agreed it was an Austrian win, with 4+ objectives held.

The game generated interest in passers-by (and see the many JoS reports to see the other stunning games on offer) and proved to be a highly enjoyable day for the 5 of us who played through the day.  It has to be said that had we played the last two turns, the French may yet have turned it around and saved the day - once again the game was in the balance right to the end.

Mike and Ned enjoyed the day and Ed and Sarah had a lot of fun!  

Umpiring for me was also a real pleasure as the game unfolded, though my voice got a little hoarse!

Pictures:

Set up

Looking West


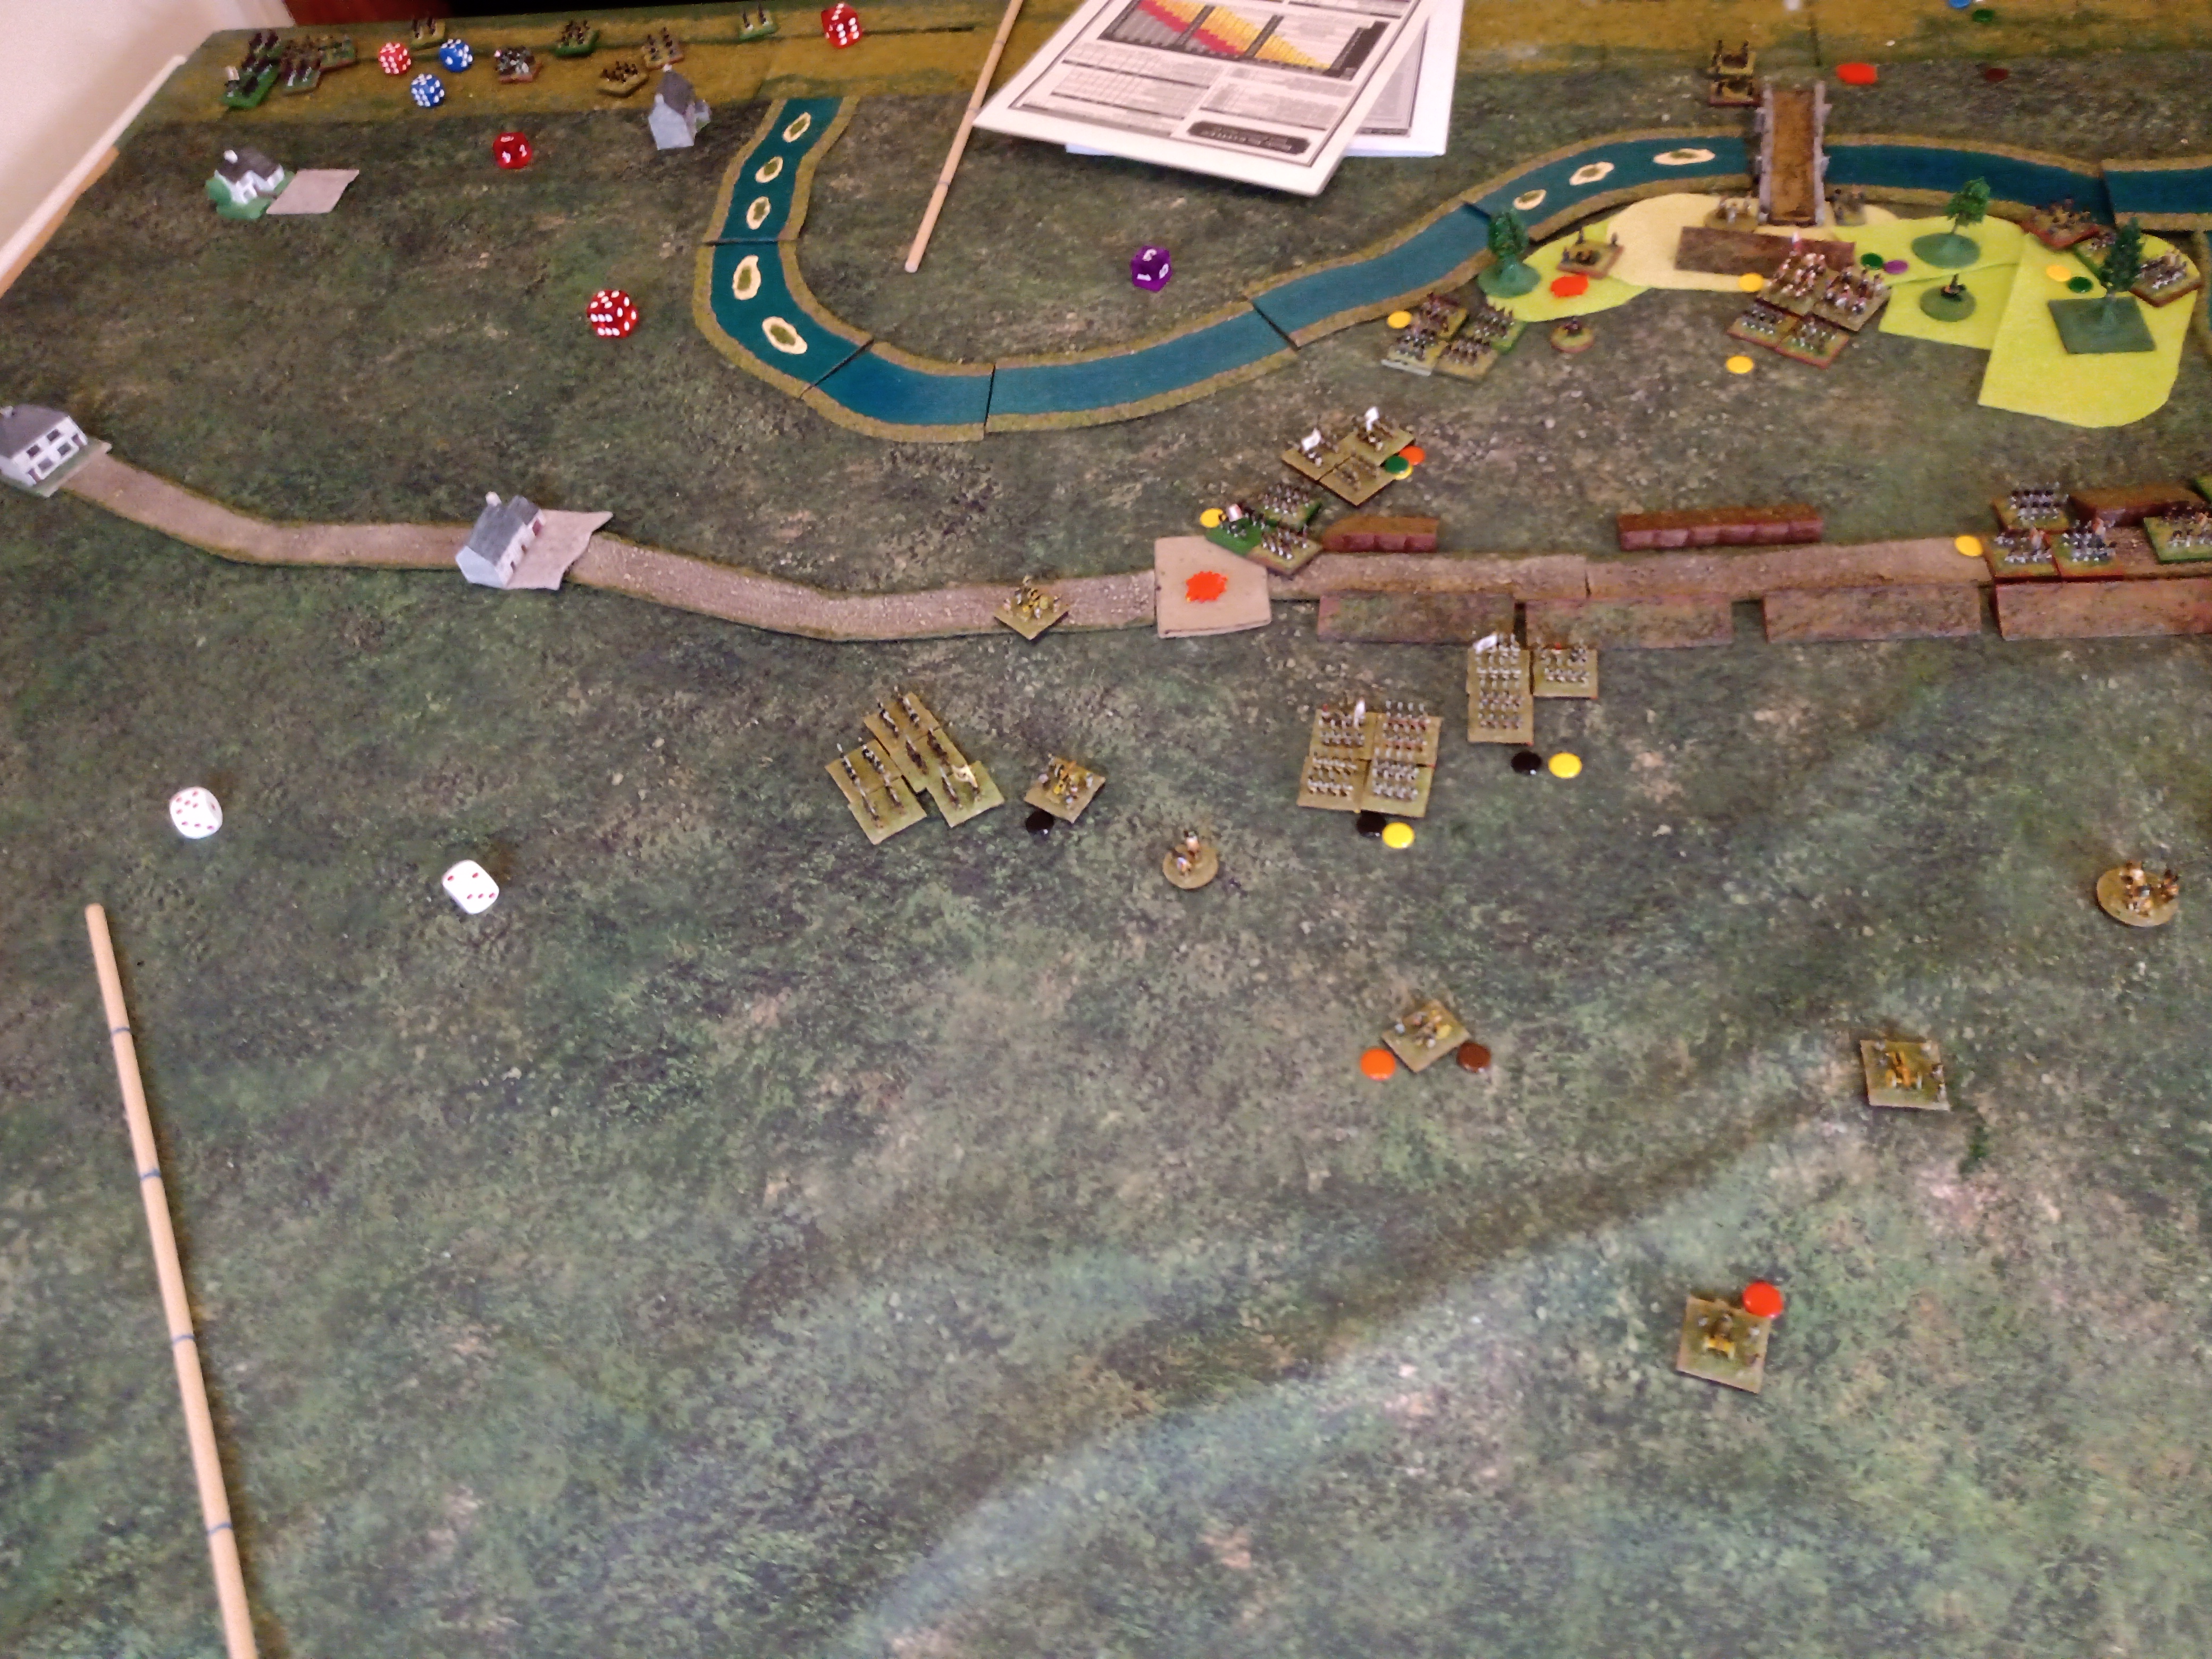
Centre, looking South


Dutch on the Allied right


Allied Centre & Left


As the game progressed, I took some photos, enough to give a flavour but not a coherent timeline!

Charles in the woods at Fleurus on the left, Wenzel in the middle put pressure on the French


Ned's Dutch head for Roux.  In the background the Dutch head for Charleroi!


Beaulieu in the foreground and Archduke Charles assault the line of villages and woods.  The French are getting broken (blue counters = spent)


Towards the end of the game - the Austrians have taken one VP


The Dutch are in Charleroi - the French assault is about to be thwarted by the Dutch heavy artillery to the right of the picture


The French balloon, deployed near Fleurus, watches over the mounting pile of casualties.


See earlier posts for details of some of the figures painted /created for this game here , there , here again and also here .  It was nice to get the troops out!  Sarah didn't get to read her book....


Saturday, 27 May 2023

BBB Bash Day IV - practice at Leeds club - moves 5 to end of game

 Another busy night in Leeds on Wednesday - we finished the Aspern-Essling playtest for BBB Bash Day on 1st July.

The French failed to get re-inforcements and the Austrians had all their troops on table, so both sides had to use what they had.  Here are the photos from early on - both sides had a huge scrap for possession of Essling - which the French retained.


Here's the view from my side of the battlefield - I had taken Aspern (as the Austrians) but failed to make further gains.....


A great couple of evenings gaming.  By turn 7 both sides were holding on, but without the ability to go over to the offensive.  The Austrian assault on Essling had failed but the French could not counter-attack, so we declared a draw at the end of turn 8.  

My thanks to my regular opponents Mike & Ned, my newbie fellow Austrians Stephen (day 1) and Colin (day 2).  

Everything supplied by me.  The eagle eyed will see that the Danube has grown as we used my "big river" terrain from S&A scenics.