Having played Waterloo once, in preparation for Joy of Six, we then replayed the battle but swapped sides, with Mike as Napoleon and myself as Wellington and Blucher. See the AAR for our first battle here
We now had Mike's terrain and some more troops created for the game so battle commenced!
Here's the map, orientated so that it matches the pictures:
As we had recently played Waterloo on the other side, we organised our opponent's troops for them to deploy - here is the French army ready to march North:
The "drone shot"
Guard to the left, D'Erlon's I Corps in the middle
Initial deployment - The thin red line
Here's how it looked from my side - these are my troops on table but not yet deployed. The orange roads are the sunken roads - they give some cover from cannon fire and in the assault.
The Allied right
The Allied left

Turn 2
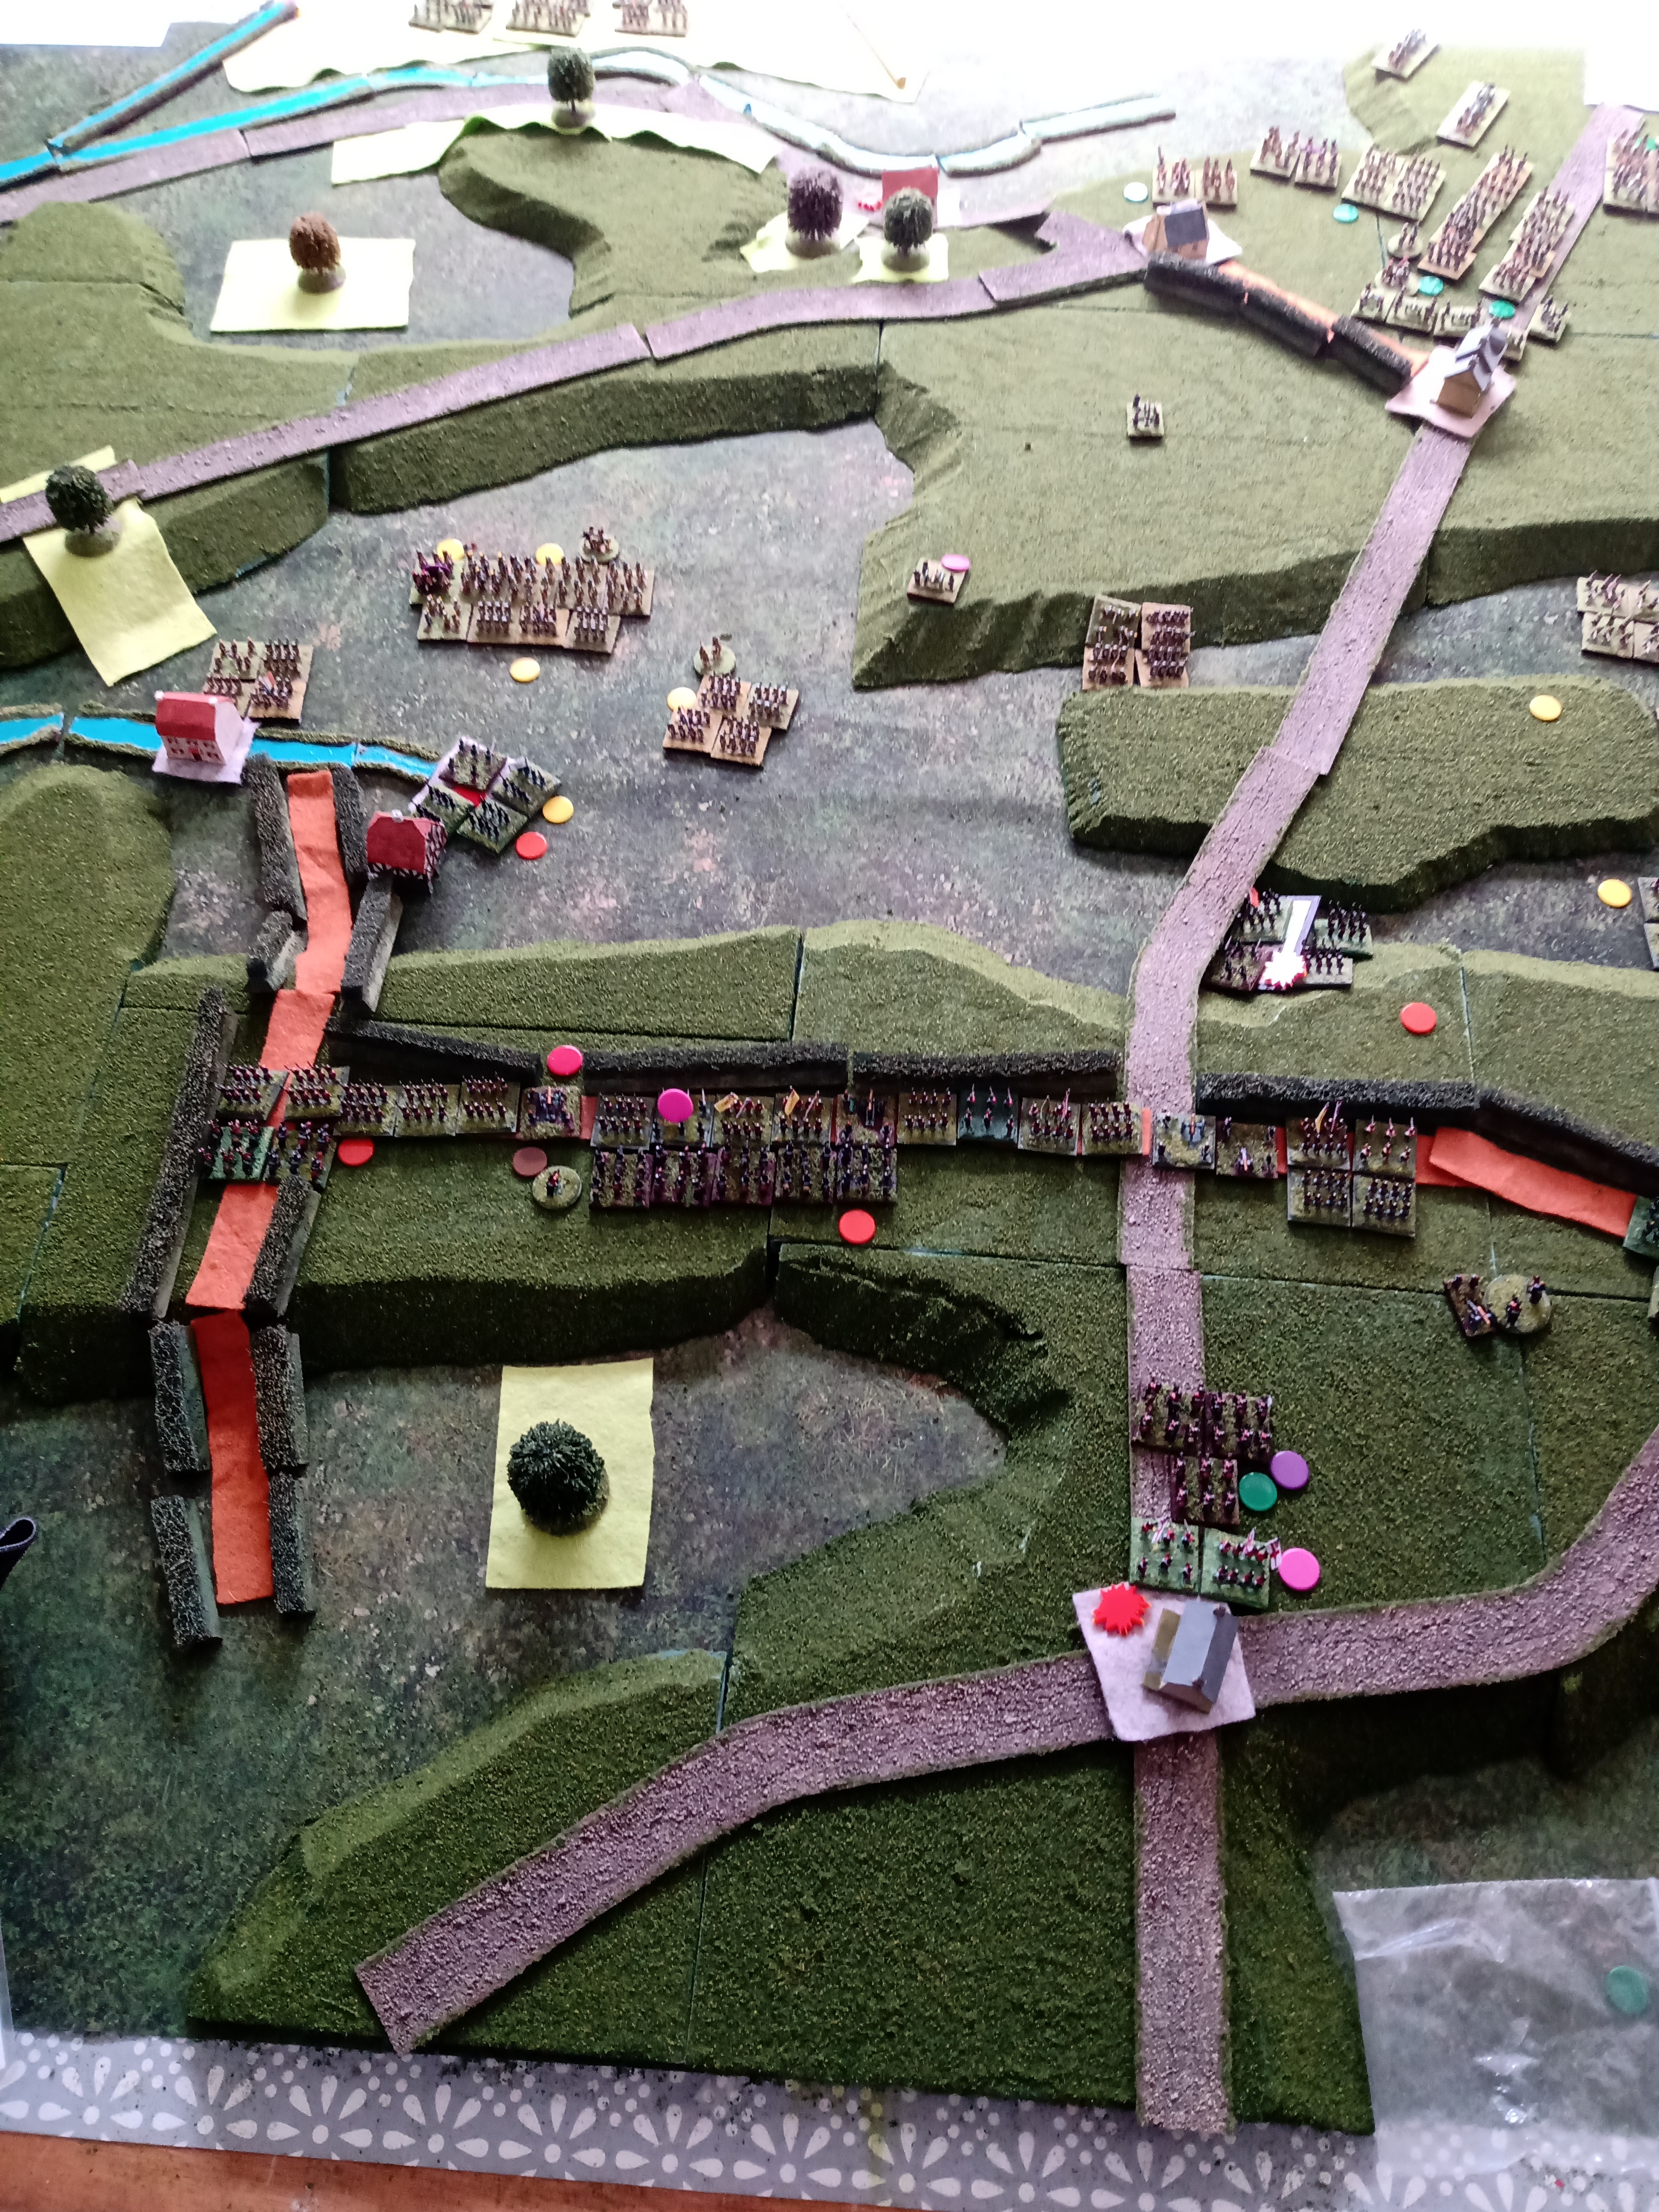
At the start of turn 2 (our second day of play) I had brought my stock of hedges, so I had something substantial to defend (? hide behind!). Mike sent forward his left hook to take Hougoumont. I appreciated how skirmishers, devastating fire, being in a fortified manor in a wood improved my chances of survival considerably! On the right of the picture Mike pushes down the ridge towards my Brunswick & Hanoverian Landwehr...
On the left, Mike headed for Papelotte. The Guard waited....
Turn 4
By the end of turn 4 we had achieved stalemate on the Allied right. Mike couldn't take Hougoumont and his left hand flanking manoeuvre had not broken through. For most of the Allied line it was a case of "hurry up and wait".
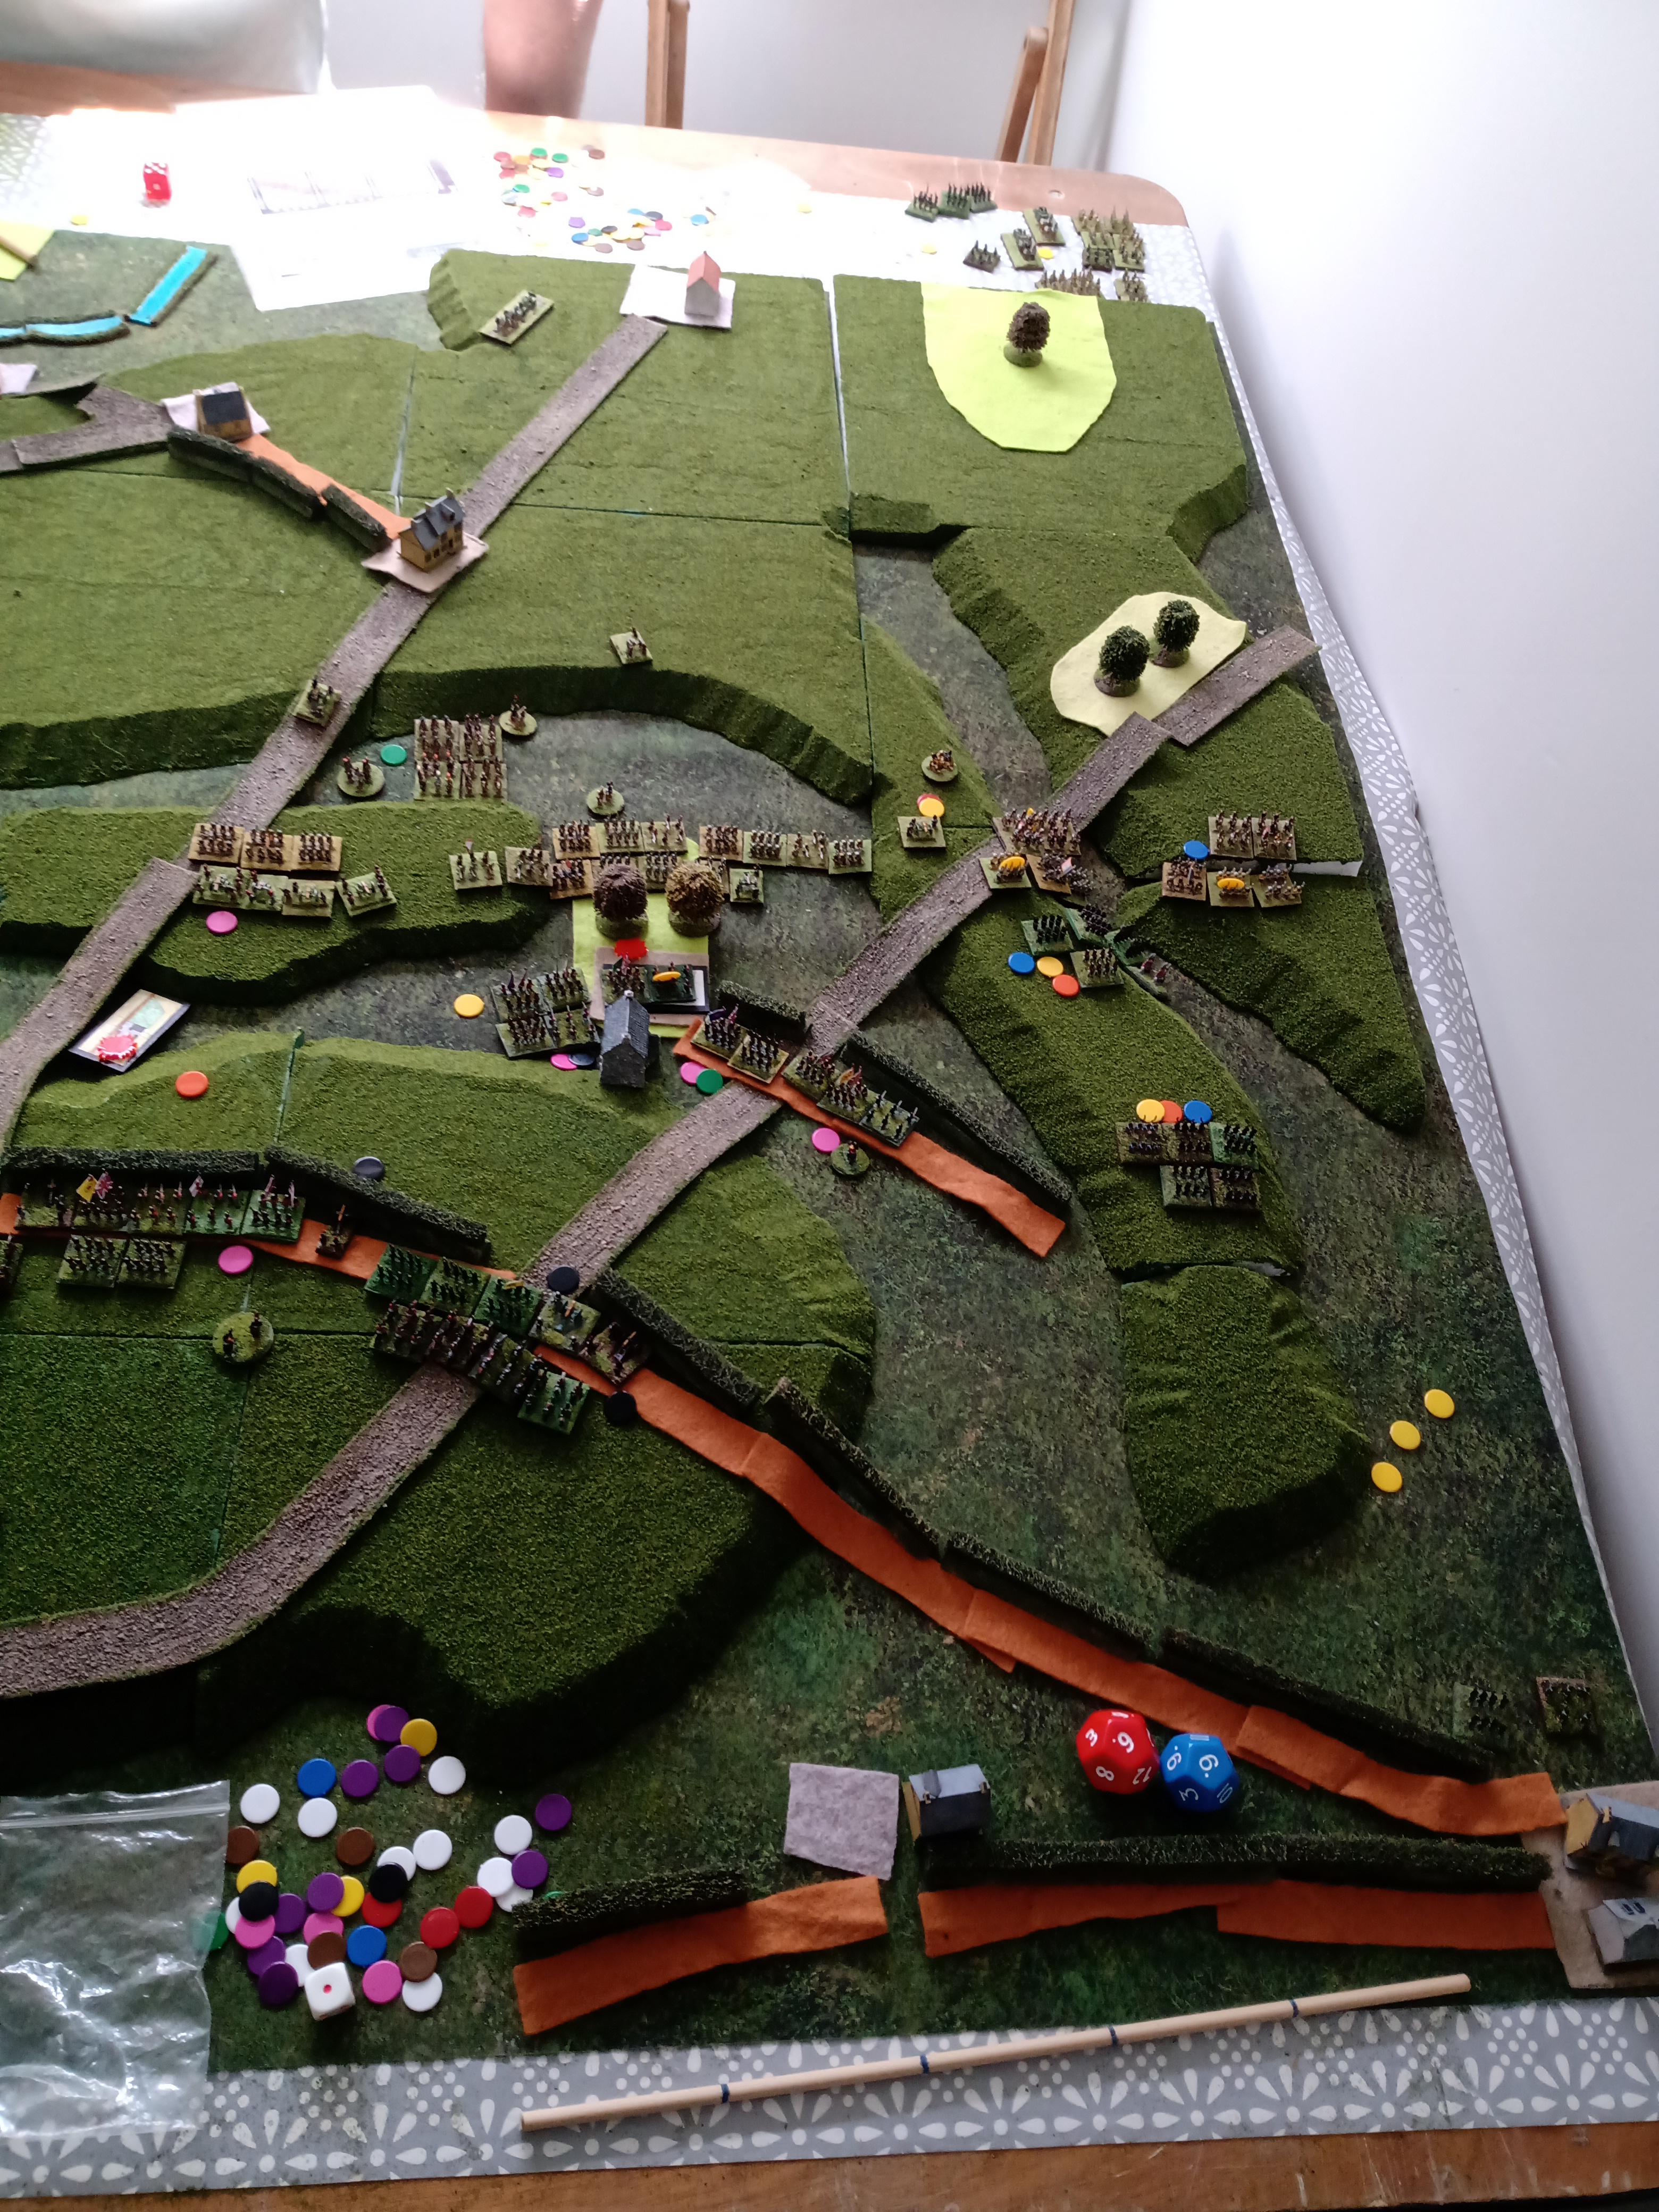
In the middle my troops were mainly waiting patiently for the French to arrive, except at Papelotte, where multiple French piled in to take the fortified village. To the left the first Prussians arrive, whilst the French Guard, static till turn three, fill the gap on Mike's right. Mike had learned from my earlier slow response to the Prussian threat. Tired from their yomp through the forest, the Prussians slowly advance...
Turn 6
At this point things were going OK. Mike still hadn't taken Hougoumont and his left hook had been stopped by various raw units - they had gone spent, but then so had Mike's infantry, so he wasn't't able to break through on his assaults. Mike had established a gun line just out of musket/canister range of La Haye Sainte and destroyed my unit defending it. I begin feeding units to my right as I'm not sure if my spent units will hold.
On my left Mike holds Papelotte, however his main concern is more and more Prussians emerging from the woods. He builds a defence line consisting entirely of Guard. His artillery amuses itself by long range counter battery fire, which is why there are two guns in the foreground of the picture. They will recover and return to the firing line in due course.
Turn 8
On my right I now stretched my line thinly to hold Mike's spent units at bay, whilst the survivors of the two spent units went into the hedge lines to recover. Mike's assault on Hougoumont had been unsuccessful, so he had pulled back his troops to recover. He had, however, removed one of my better units from the field of battle.
On my left the Prussians put pressure on the Guard. At the top of the picture A Prussian column heads down the road towards the French rear, it looks like Mike's flank has been turned. In the middle Picton assaults Papelotte with everything he can, Mike scrambles to react to this threat...
Turn 9
We played turn 9 through enough to decide the key combats and determine a winner.
On the right I advanced my line to support the gallant defenders of Hougoumont. Mike's final assaults here were not able to break through.
In the middle Mike occupied La Haye Sainte on his turn 9. I assaulted and won using the whole of my middle troops. Not even the Grand Battery could save the French defenders.
On the left you see the results of the Prussian massed assault. The Guard started to take losses, but well placed artillery meant that the Prussian column on the road went spent and moved no further, The defenders of Papelotte did hold out, but the Prussians had broken through and driven off the French relief force.

Conclusion
I am pleased to report that it was another Allied win. Mike, as Napoleon, didn't repeat some of my mistakes, however he was not getting high enough die scores to breakthrough at Hougoumont.
It's hard for Napoleon - as Wellington all I had to do for half the game was wait for the French and keep my troops from being blown away. Mike had to win big against me early on and then win big against the Prussians.
When I did go onto the offensive, at the end of the game, the fragile and raw nature of much of my force showed up in failures to charge home and units quickly going spent.
We both thoroughly enjoyed the game and it's been great to play on our bespoke terrain.
All that remains is to welcome you on the day at Joy of Six on 13th July in Sheffield - you are welcome to take a turn or two or stay longer.