The next BBB Napoleonic battle is Aspern Essling. Here's how Mike and I got in early September refighting what was, in history, Napoleon's first defeat (according to the Austrians!). Napoleon has captured Vienna, but the Austrian army is on the other side of the Danube and needs to be brought to battle. Napoleon has built a bridge over the Danube and has a bridgehead on the far side. He needs to bring the Austrians to battle and have a dramatic victory, one that would knock the Austrians out of the war. He is dependent on this bridge, which the Austrians are trying to destroy. So part of the game depends on how fas Napoleon can get his troops across the battle and into action.
Here is the map:
The French start with almost nothing on the table. The Austrians have numerical superiority, at least to begin with, but as the troops are passive and with only a CinC and General of the Reserves to move things along, there is a good chance that they take too long to get to the action!
Set up and initial moves:
I've played this game before, so set up as near as I could and pushed into Aspern. The Austrian infantry to the right on the road have failed to move...
Slow moving Austrian reserve Grenadiers - the orange blobs denote "not passive".

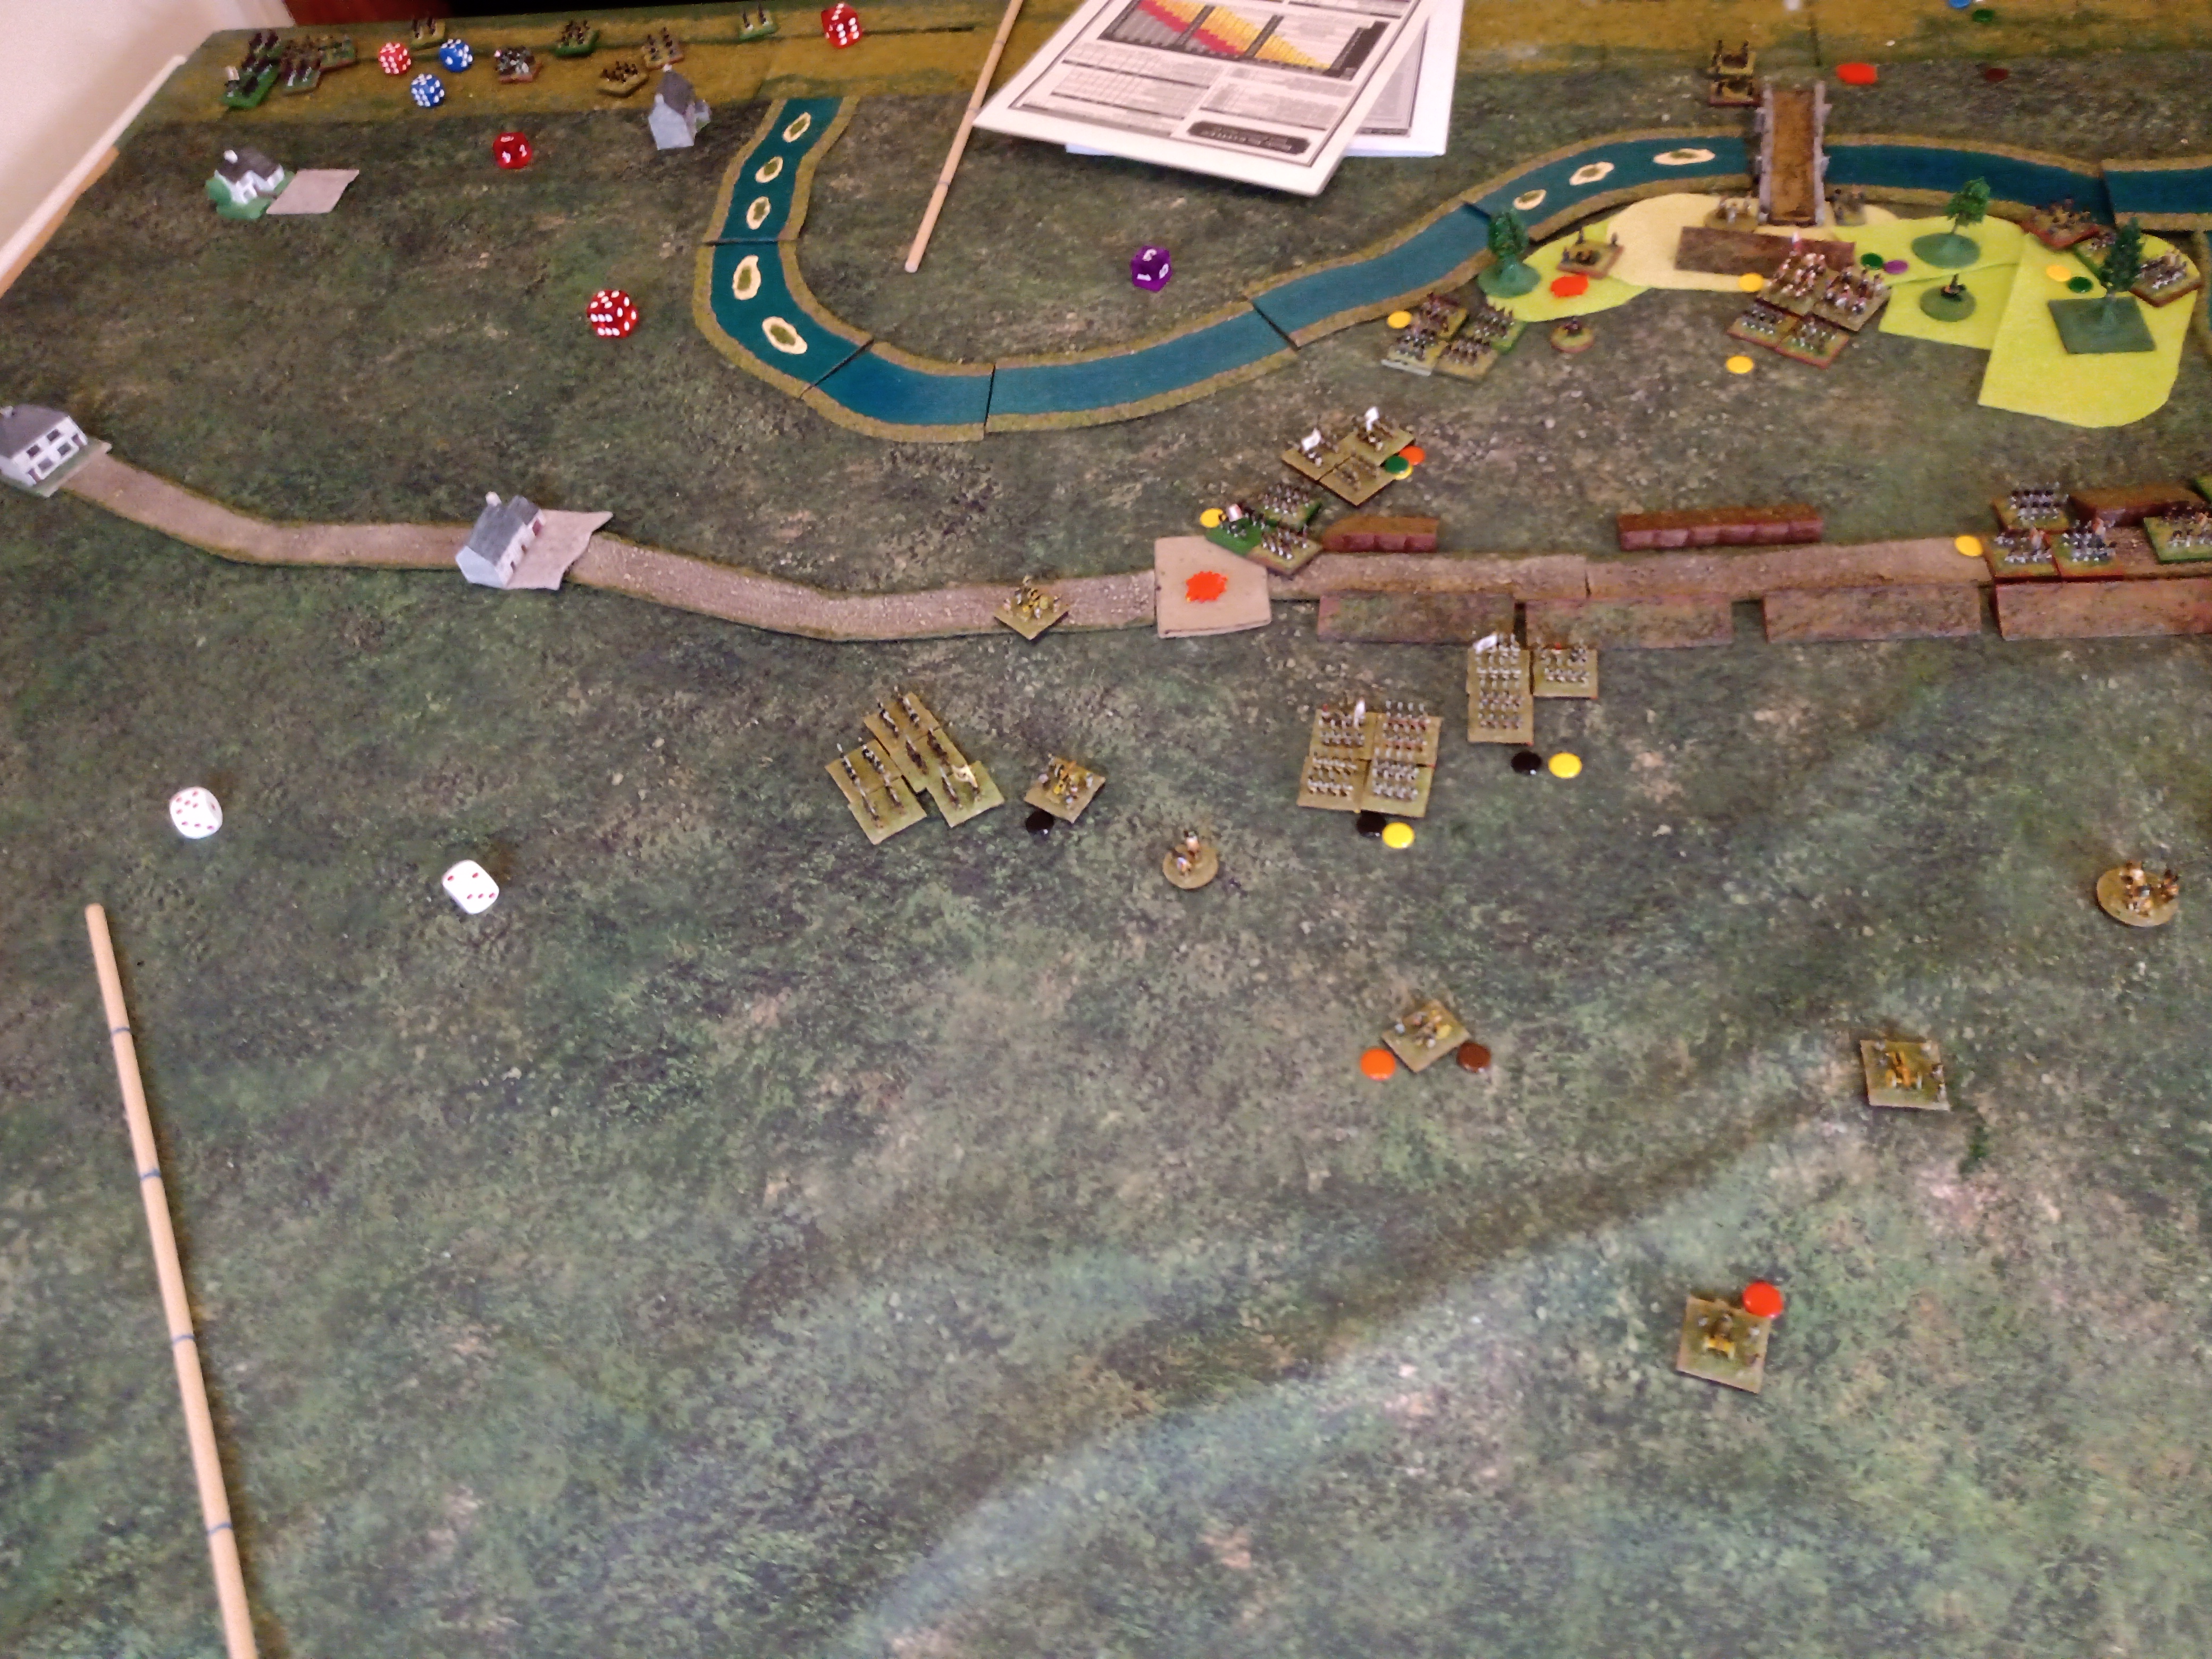
Move 2On the Austrian right, the French rushed defenders to Aspern and the mighty white Juggernaut moved in.
In Essling, the French took up residence as the advancing Austrians just failed to launch a co-ordinated heavy attack, moving instead in piece-meal fashion.
On the left the biggest unit, Hohenloe's IV Corps, threatened but didn't actually move ar all.
Move 4
On the Austrian right the French were evicted from Aspern and things were going well for the Austrian juggernaut.
In the middle the Austrians closed on Essling, but still at a glacial pace and in an unco-ordinated fashion.
On the Austrian left IV Corps are still not in contact, having failed to move much more than 6 inches in 3 moves.....
A little later...
The Austrians hold on to Aspern, but the extreme right flank in the woods is getting attacked by the French re-inforcements.
In the centre the Austrians fail to close on Essling in force and the French shore up their position.
Move 5The Austrian centre, troops advancing on Essling
A little later, going in piecemeal doesn't get the critical mass needed to take Essling.
On the Austrian left, IV Corps proceeds to move at glacial pace...
On the right, the French left hook through the woods develops and the Austrians struggle to counter it.
Turn 6On the right flank, the Austrians hold against the French left hook through the woods
In the centre the French lose Essling! However, the Austrians fail to charge home against the mass of French.
On the left IV Corps make sure that they miss the battle by failing to move again. Their troops are badly needed!
Turn 8
By turn 8 things were not going well for the Austrians. The French retook Aspern and started to grind the Austrians around Essling down. The Austrian centre could hang on, but were taking casualties faster than the French, whose reinforcements were getting across the bridge.
IV Corps finally got into action, but it was too late.
ENDEX
On Austrian turn 9 it was clear that it was time for the Austrians to retreat. Despite having taken Aspen & Essling, neither had been held. There were simply not enough troops with fight left in them to continue the battle.
Thoughts
Mark has written an excellent scenario which I had played before in
Oxford and
Leeds 1 &
Leeds 2. So, I thought that a Archduke Charles I knew what I was doing. Well, even if i did, I didn't get the die rolls needed to close with the French when they were weak. Mile's excellent left hook stretched my right wing and I gambled by leaving Aspern empty for a move, confident that I could get back. Yup, that didn't work! In the middle I couldn't get there fast enough with enough troops. On the left.... well that assault never really took off at all.
Despite losing it was a great game, well done to Mike for getting a decisive win. My troops all got an outing and it was nice to field the whole army with more to spare.


No comments:
Post a Comment