Friday, 25 November 2022

Neerwinden Play-test part 2

 Last night saw the next three turns (3,4 & 5) as Mike, ably partnered by Ned, continue the Austrian defence against my Revolutionary French.

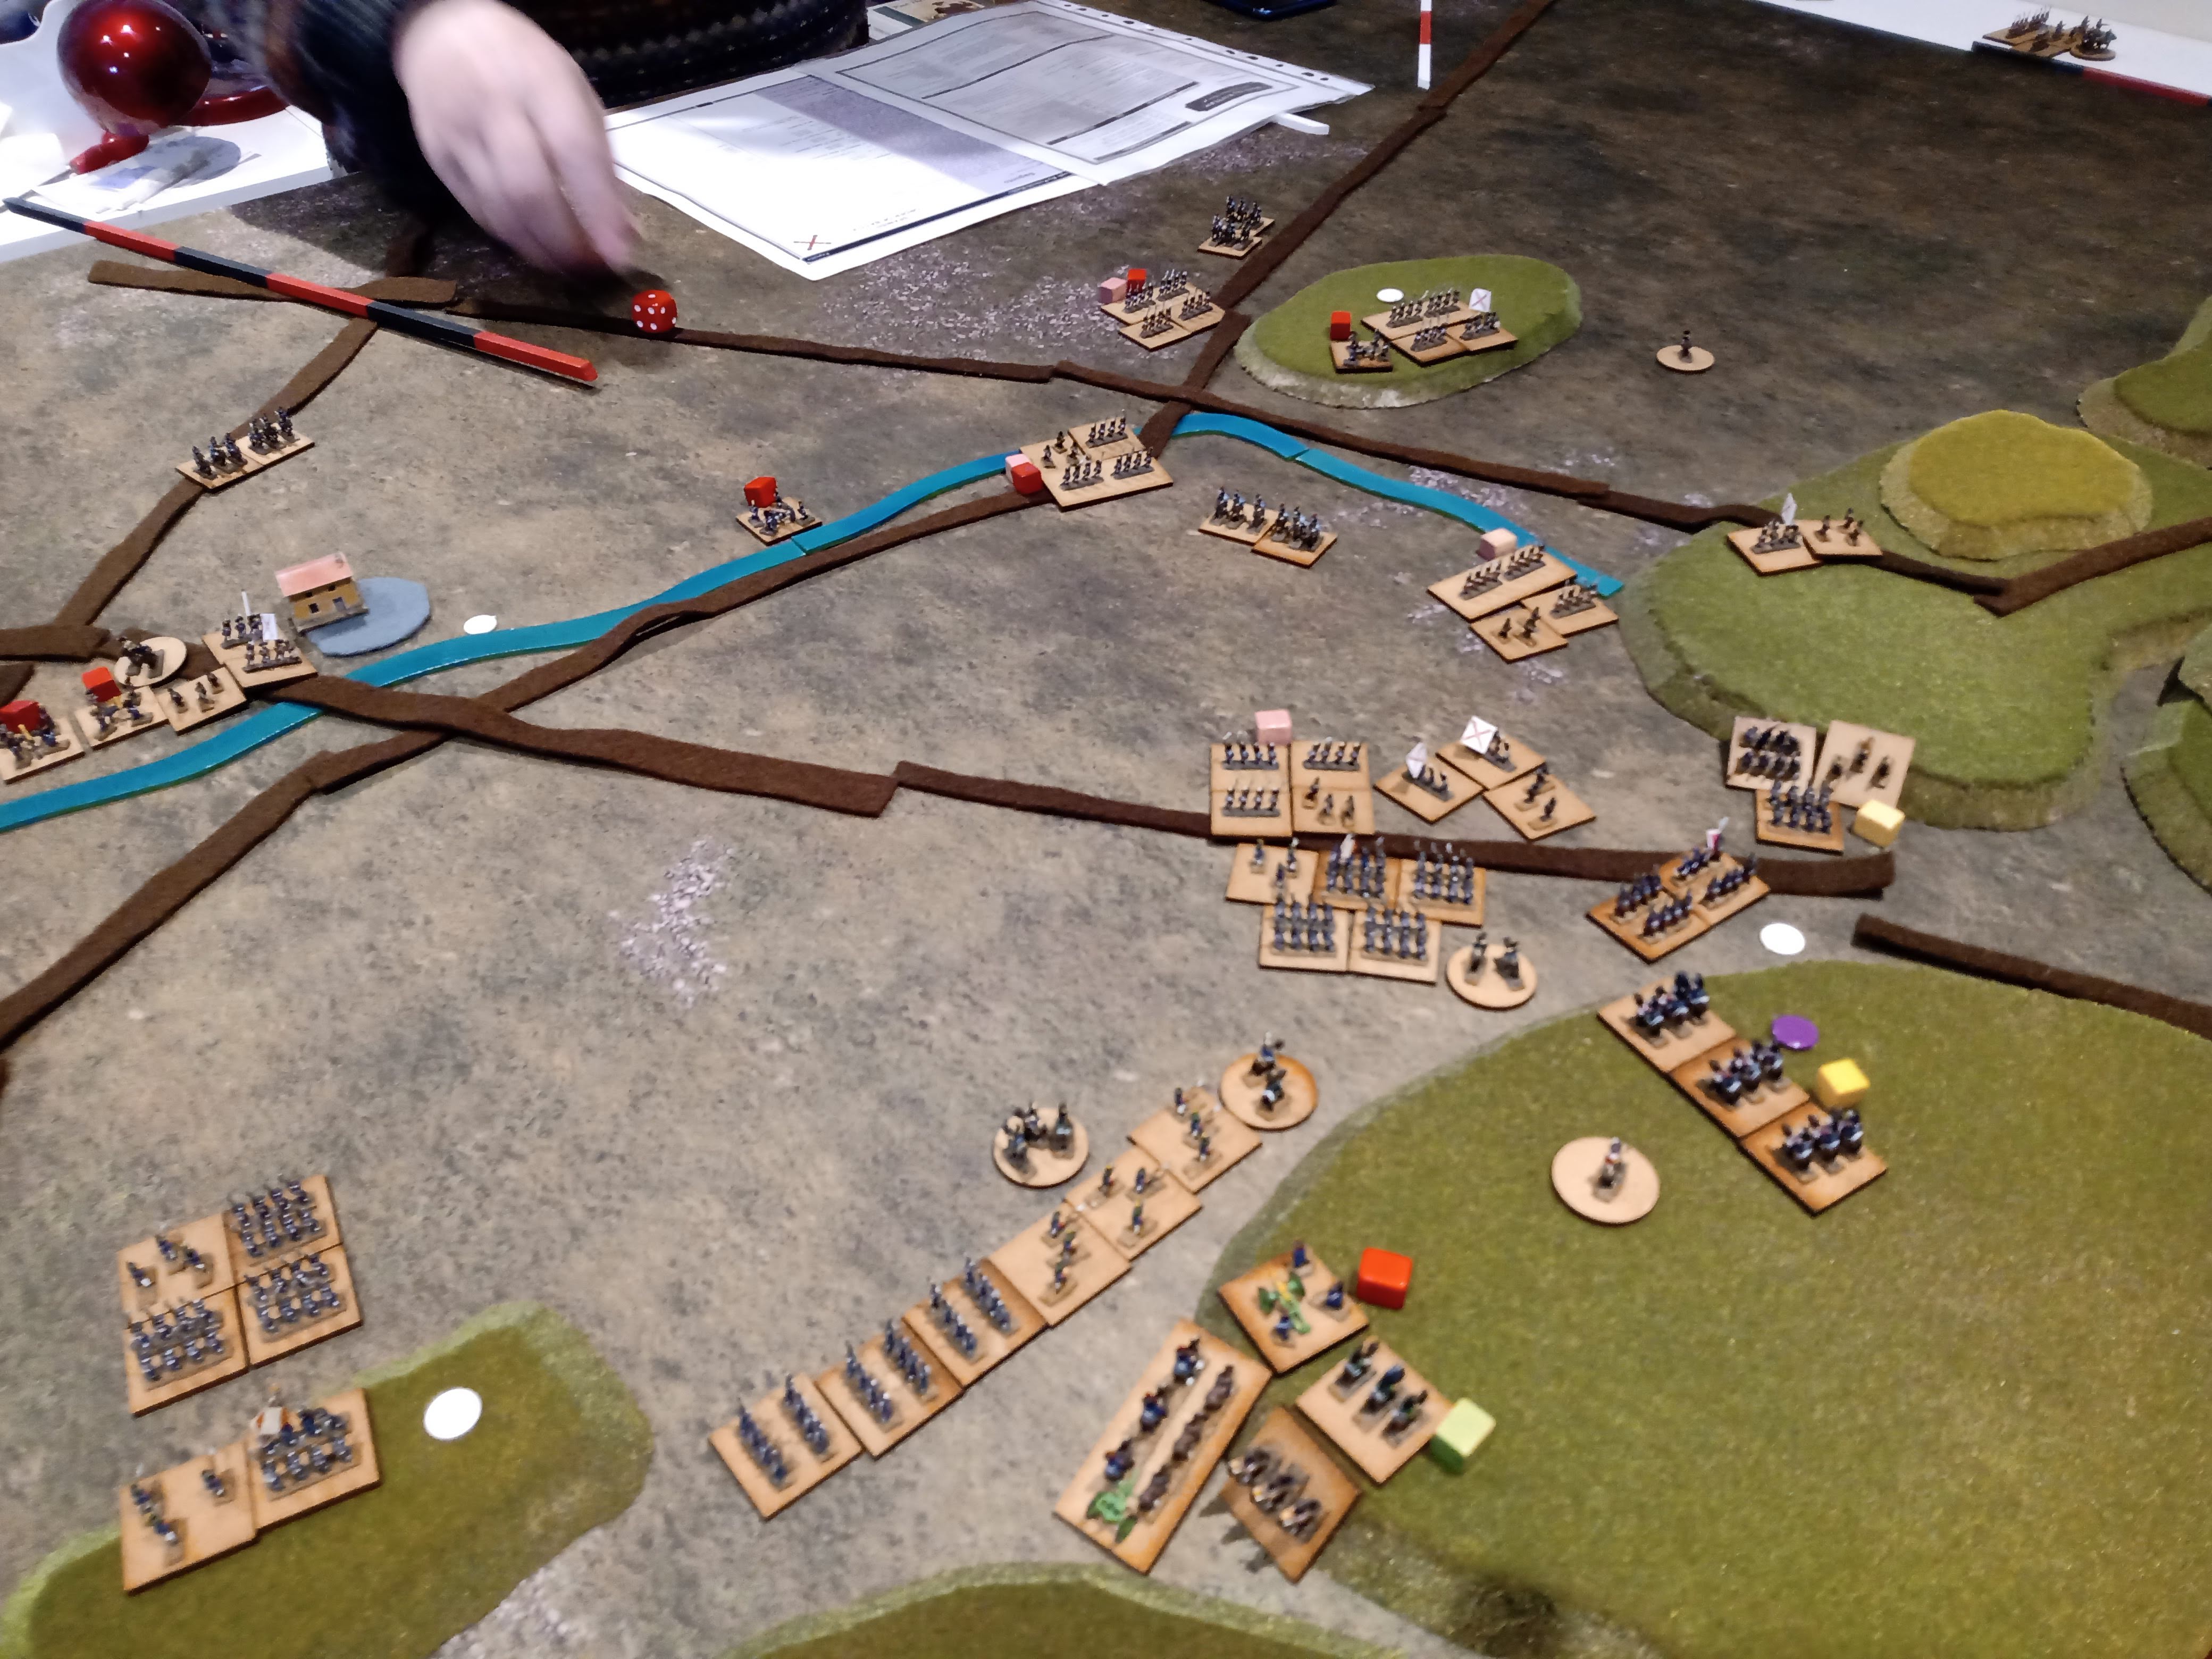
I spent move 3 re-arranging my French into 2x2 unit blocks to give depth & firepower.  Ned's attack on my left flank saw a big cavalry punch up, drawing troops from further down the line to re-inforce the left and leave a thinner place.  Ned duly punched a hole in this with his 5 unit veteran Grenadiers.  

In the middle, my assaults across the stream made progress, but at some cost.  My fragile raw French were fine, so long as the Austrians missed, but tended to evaporate in firefights far too easily.

My right wing got bogged down on the stream and struggled to wipe out the Austrians on the other side.  

At the end of turn 5 we decided to play at least one more turn, reset and then swap sides for a further play-test in just under two weeks.

Eye candy!

Turn 4 photos:


French to the left, Austrians to the right.  Austrians surge across the stream!


The opposite end.  French on the right, Austrians to the left.

The photos below are all at the end of turn 4.


The Austrian Grenadiers, with cavalry support, cross the stream whilst the French, top right, try to take the hill.


The battle in the middle, the French have crossed the stream and are heading for the main Austrian forces.


A close up of the push to Neerwinden (Grey roofed building in the centre of the picture).


The French assault on the central hill crosses the stream and occupies the village!  Not, unfortunately, one of the "objective" villages.....


Ned's Grenadiers cross the stream, supported by more infantry to their left and a 12pdr battery on the hill.

Some close-ups:

Grenadiers - note the coloured patches on the rear of the bearskins.


Heavy Cavalry supporting the line to the North of Neerwinden.  Note the General, bravely commanding from the rear!


Turn 5 Overview


I hope that this has whetted your appetite for this period of history.  We plan to finish the game next week and then start the replay the week after.  Stay tuned for more updates!


Sunday, 20 November 2022

Neerwinden - 18 March 1793 - refight November 2022

 It has been quite a while since I posted, so here's an update.

I've been concentrating on getting a reasonable Austrian army (1792-98) ready for the French revolutionary wars.  I've also created my first BBB scenario - Neerwinden - 18 March 1793.  This was the Austrian successful attempt to stop the French invading Holland...   well, for a while, anyway!

Neerwinden pits two almost equal sides on fairly flat terrain - so the trained Austrians with linear tactics will be pitted against the raw revolutionary "l'ordre mixte".  Enthusiasm vs. professionalism.

The scenario is pretty much as per the BBB rules, the only changes made are:

1. The Austrians can only form lines or columns - the only way to get depth is to put two lines of troops together.

2. Both sides, apart from skirmishers, are rated EB (Early Breechloader) rather than SM (Smoothbore Musket) for firepower.  This is to represent the large amount of battalion guns present - these were light artillery (3 or 4 lb guns) attached to battalions in ones and twos.


We set up on Wednesday and have played two turns.  Mike, my regular opponent, took the Austrians and I decided to be the French.  Mike has to deploy first, which he did along the Little Geete stream.  

I formed into visually spectacular blocks and attempted to ford the stream.

OK, on with the eye candy!  All photos are mid game, so not tidied up for a photo shoot.


Set up.  The scenario map:


On table.

Looking North East


Looking South West


Turn 2 (as far as we got):

Looking NE - the French advance across the Little Geete stream.  Or not!


The French right wing and reserves - having problems crossing the stream.  Yellow counters = disrupted.  White counters = Victory point locations.


Gen Louis of Chartres pushes forward in the middle.


Austrian Cuirassiers & Chevaux Legere.  The purple & green counters show the Austrians as both aggressive & "K" - an OWS house rule that adds a further 1 in the assault (normally either armoured cavalry or lancers).  Two flag bases mark the Cuirassiers as Veteran.  Scary! (if you are French).


Austrian Dragoons and Cheveaux Legere - this time the Cheveaux Legere have white jackets.


The sneaky Austrians (Mike) have crossed the little Geete and are threatening the French right.  The Lancer & Hussar uniforms of 1793 are near enough to those of 1809 (at least in 6mm scale) that I used my 1809 cavalry.


Austrian grenadiers of the Archduke Charles' Advance Guard under the gaze of Cleyfert, the Austrian CinC.


More Austrian grenadiers, this time from the Reserves, defending the left flank.


The Austrians under pressure - but after the hand to hand the unsupported French line has been repulsed by infantry and a 4 unit block of Austrian Cuirassiers.  The Cuirassiers nearest the camera are Carabiniers, so get a yellow trim to their tricornes.


Detail of those hats...


Wednesday will see another few turns and another photo report.  It has been really satisfying to get the scenario drafted and being played out on a table!  ðŸ˜€

Credits:
Figures - Baccus (SYW & AWI figures with some minor modifications)
Bases - Warbases
Terrain cloth, roads & hills - Leeds Wargames club
Streams - S&A Scenics
Houses - scratch built by me.
Sarah W - drawing the map, encouragement & cups of tea!


Monday, 25 July 2022

Baccus Open day

A couple of weeks ago, on the first Saturday in July, Sarah and I took the Baccus factory tour - organised once a year on the day before Joy of Six, the war-games show that promotes 6mm games and that runs on a Sunday.

As we are now based in the North, it was an easy run down from Bradford to Sheffield and the Baccus HQ.

Peter on the factory floor


The tour took us through the history of Baccus, showed us the factory building and the process of making all those lead soldiers.  It was really interesting, with Peter and one of his casters giving a great lecture and fielding our questions in an engaging and enthusiastic manner.

Here's how the process starts - a single soldier is sculpted:


Four of these become a strip, a series of strips and components (especially for WWII) are then put in a pink mould to create the right number of highly detailed miniatures needed:


This mould has WWII vehicles and various earlier soldiers.  Once 24 strips of 4 figures are ready, they are put in a production mould.  The mould is heated under pressure to create a dull black mould that is ready for high speed production.  If you forget to dust the two halves of the the production mould with talcum powder, they fuse with all your figures inside.  Apparently all casters have done this at least once!

This is the casting - molten metal is poured into the mould as it spins.  


The finished product - shiny new soldiers 


It was a really interesting and informative morning - if you are at all interested, I would book on the next one - in July 2023!

It's good to see someone happy in their work....


Friday, 8 July 2022

Chocks Away - Friday Night WW1 Aerial Combat

 A couple of weeks ago I hosted a friend, Luke, for a Friday evening's World War 1 air combat.  We used 1/600 Tumbling Dice planes and used "Chocks Away" - a set of really simple rules written by myself.  This is not so much an AAR as a sample of how our two games progressed on the night.

Luke chose to be the Allies, with RE8 Bombers, Bristol Fighters and Camels.  I fielded Albatross III fighters and Fokker Dr1 triplanes.  Yes, two Richtofens were present.

The dice colour represents skill - Ace = red, Trained = yellow/clear, Raw = green.  Height is in 6 bands, related by the dice pips.  Counters represent factors - bombs on board = blue, jammed gun = black, moved this go = red, damaged = yellow.  The white and purple counters were to help Luke work out what sort of similar looking Olive drab plane he was looking at!  :-)

So, here are the pictures!

British bombers, game 1.


British Bombers in the 2nd game


German start - 


Close Combat - getting stuck in!!!


All in all we had two really fun games, with Luke doing much better in game 2 and getting his bombers off the far table edge.  A great way to end the week.  !

As ever, I hope this inspires you to have a go.

Thursday, 5 May 2022

Sagunto 1811, replay 5 May 2022

 Plan A was to play Borodino this last weekend, but a family bereavement and funeral meant that my regular Oxford friend and opponent, Mark, put on Sagunto - a Spanish army takes the offensive against the French.  8 moves, 6 objectives, 3 for a draw or 4 for a win....

Sagunto also features the Royal Navy...  so Hornblower gets a look in.


Here's the map, so you get the lie of the land.


The French started mainly on the left, coastal side of the battlefield.  Here is how these troops got on.  

1. Crossing the first stream:


2. Advancing, whilst reinforcements wheel right.


3. Getting to the second stream...


4. Poised on the hill, ready to take the objective.


5. Objectives taken 😀


Meanwhile, on the right... the reinforcements head for the hills. 


Heading to the right, where the beleaguered Poles hold off the Spaniards, also covering the gap...

The fight developed on the right, with the French assaulting and being assaulted from several directions at once.


At the top of the picture above are 3 raw, fragile & spent Spanish units fleeing for somewhere safer...!


The Spanish sat on one objective....


Thus getting mashed by the French...  now you see them, now you don't....


All in all it was a cracking game, six out of six objectives taken and much convivial banter with Mark!